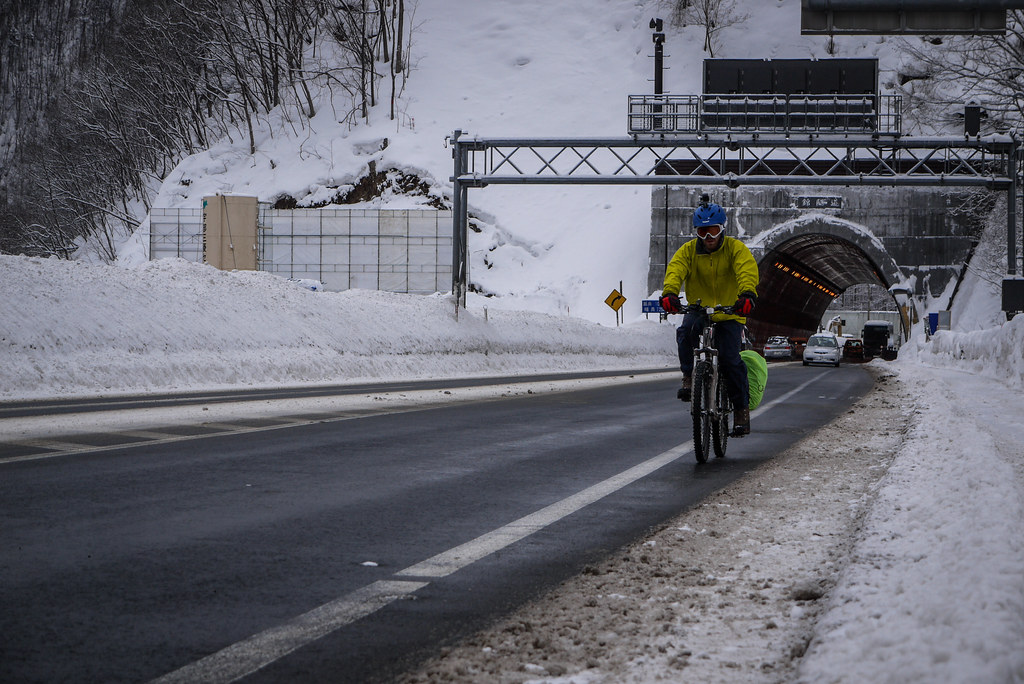
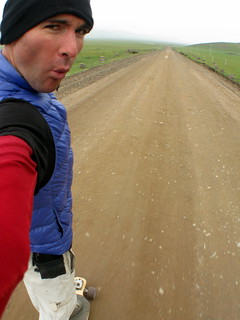
For four months of the year here in Sapporo, we cycle with spiked tires. That’s mid-December till mid-March. At the beginning of winter, in December, the decision to make the change from normal tires to spikes is fraught with uncertainty: It is snowing today, but will there still be snow on the ground in a couple of days? Inevitably, I do end up cycling a week or so on bare asphalt before the roads finally become firmly in the grip of snow.
In March, the opposite uncertainty is true: The roads are clear today, but will there be a big snowfall in a couple of days? That said, I’m pretty sure today was the right day to make the switch. I’ve grown tired of noisy metal spikes on pavement (and the bewildered looks from pedestrians as I noisily approach).
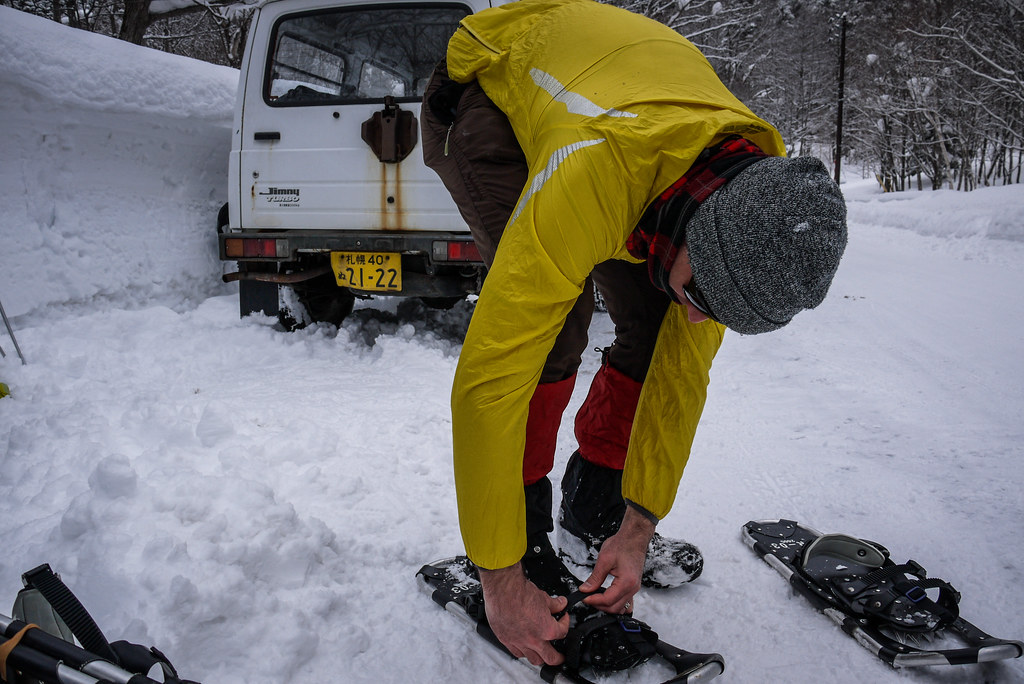
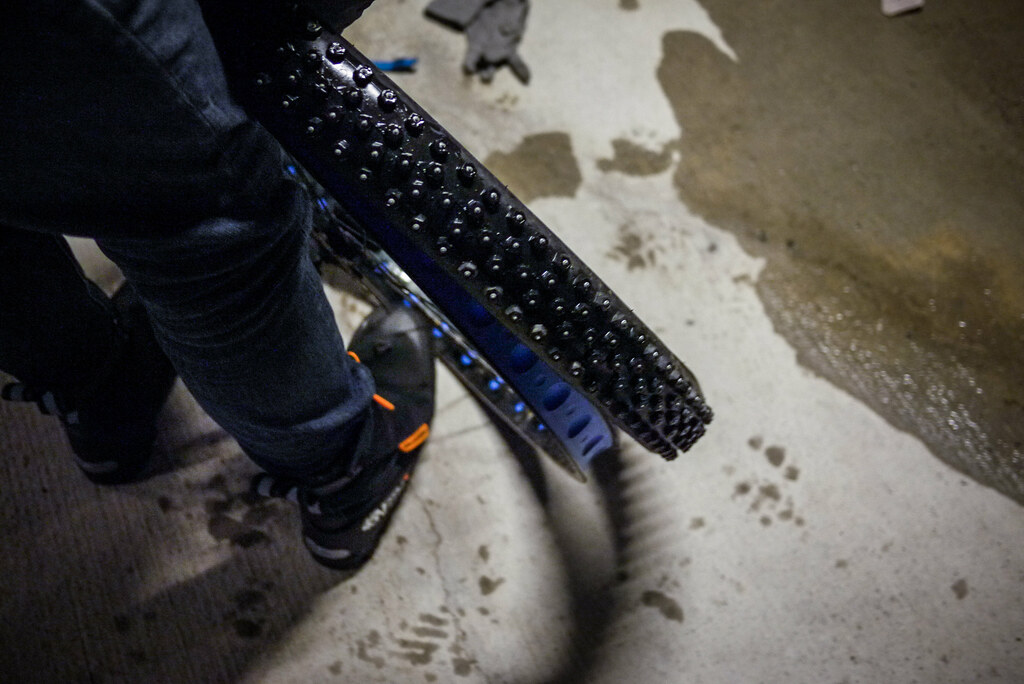
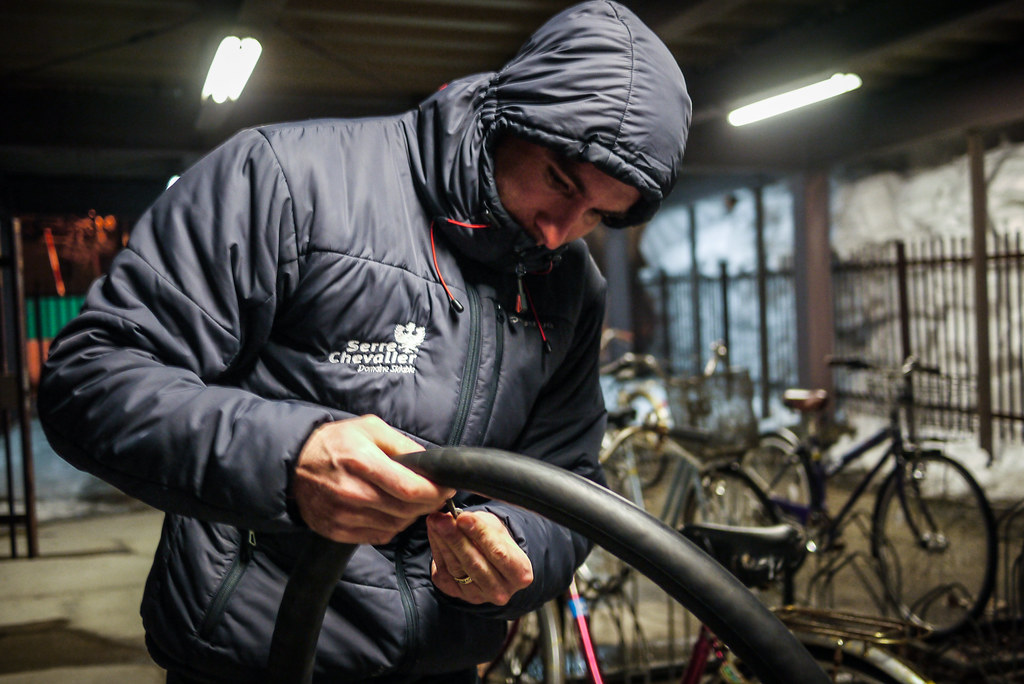
Haidee was there to document the 45-minute procedure in a relatively balmy 3 degrees Celsius.
First, off with the spikes on the front tire. I use the excellent Schwalbe Ice Spiker Pro tires. This is my third full season on the tires. I think they’ll last another couple of winters. With more than 400 aluminium-embedded carbide studs in each tire, they are some the most expensive mountain-bike-sized studded tires you can buy. But even then they cost less than a full tank of gas in most automobiles.
 I opted to switch out the tubes for some lighter-weight ones. This is not so much for the literal weight savings, but the thinner tubes make the tires as a whole more pliable, making for a more comfortable ride (tubeless would be ideal, and I intend to make the change at some point).
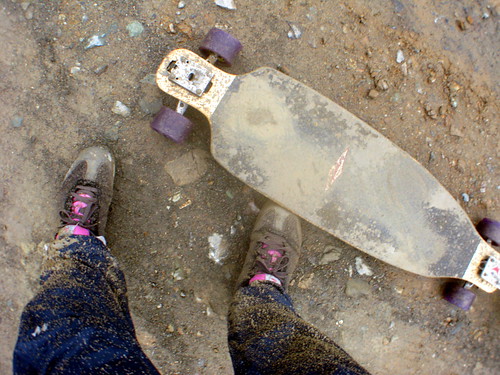
The after-switch tires are the fat and plush Schwalbe Big Apple tires. These tires have a very pliable sidewall. That plus very high volume of air makes them a very comfortable and fast ride. This will be my third season on this set of tires. Wear looks to be acceptable on both tires.
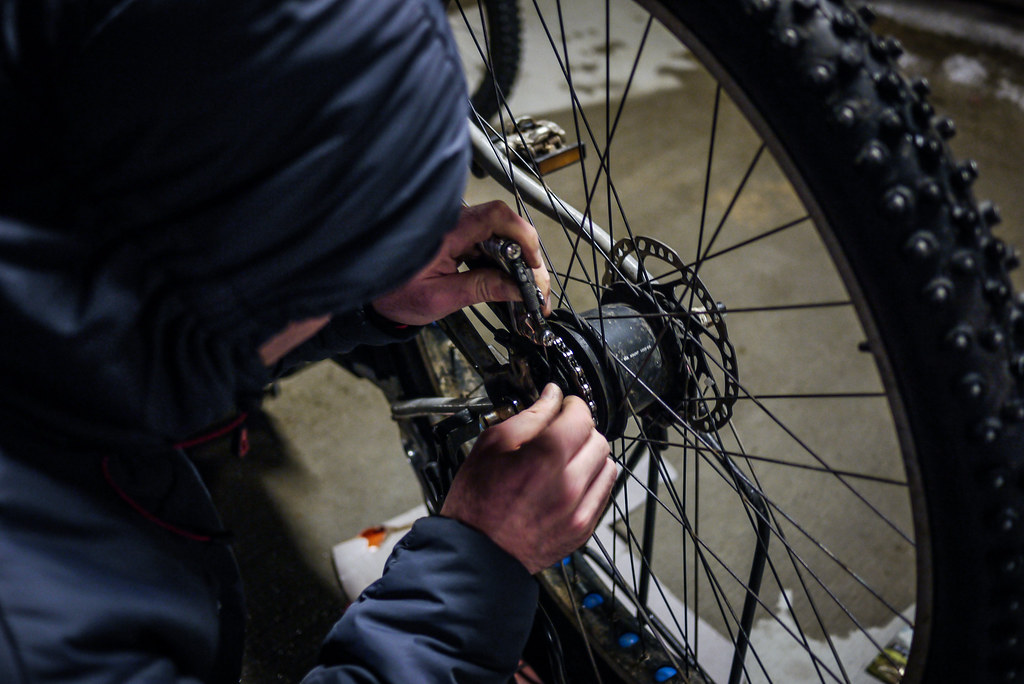
 I have a Shimano Alfine 8-speed internal gear hub (IGH) on my back wheel. This means removing the back wheel involves a few more steps than a standard quick release setup. I also have a full chain cover (Hebie Chainglider). I haven’t removed the chain cover all winter, and the chain looks in relatively good shape (I give it regular squirts of very light lubricant).
 The completed job…
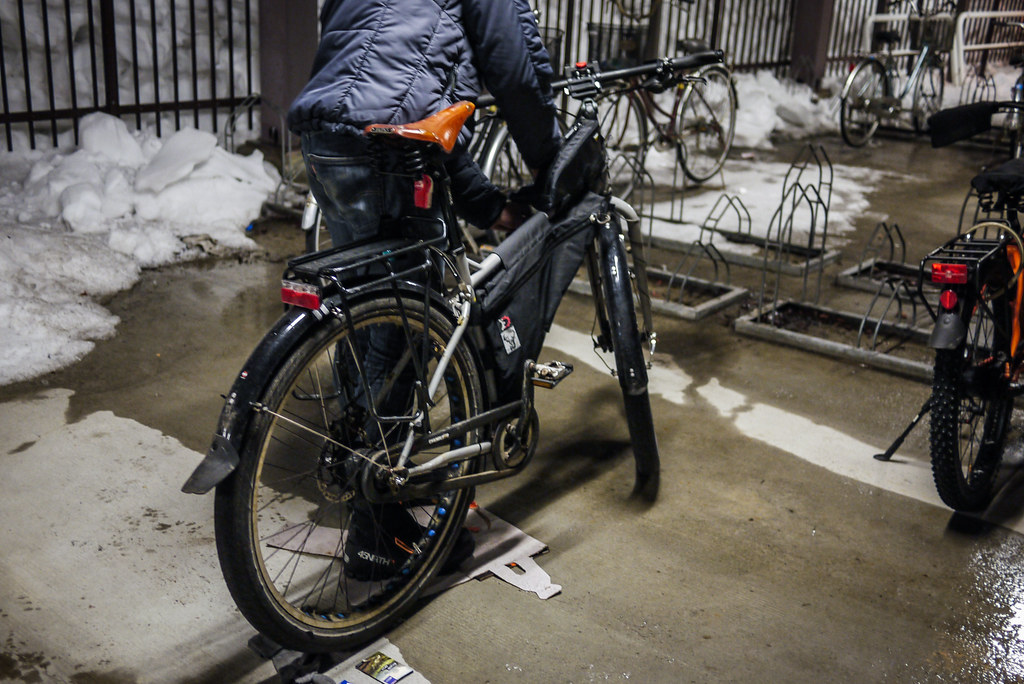 Could do with a more thorough clean of the bike, but that’ll have to wait till a warm weekend.
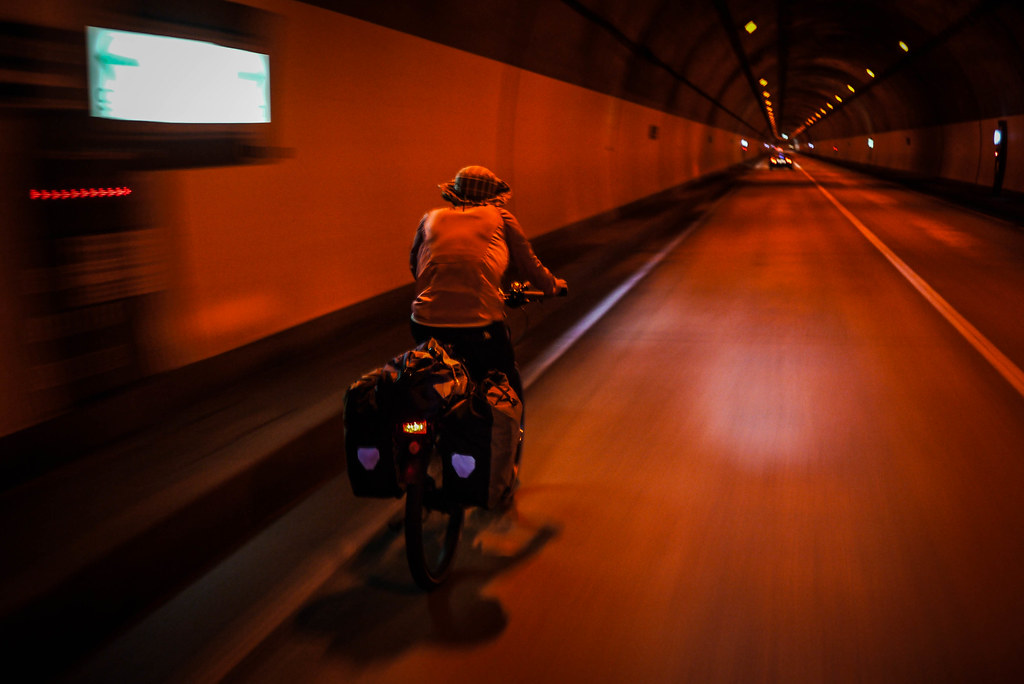
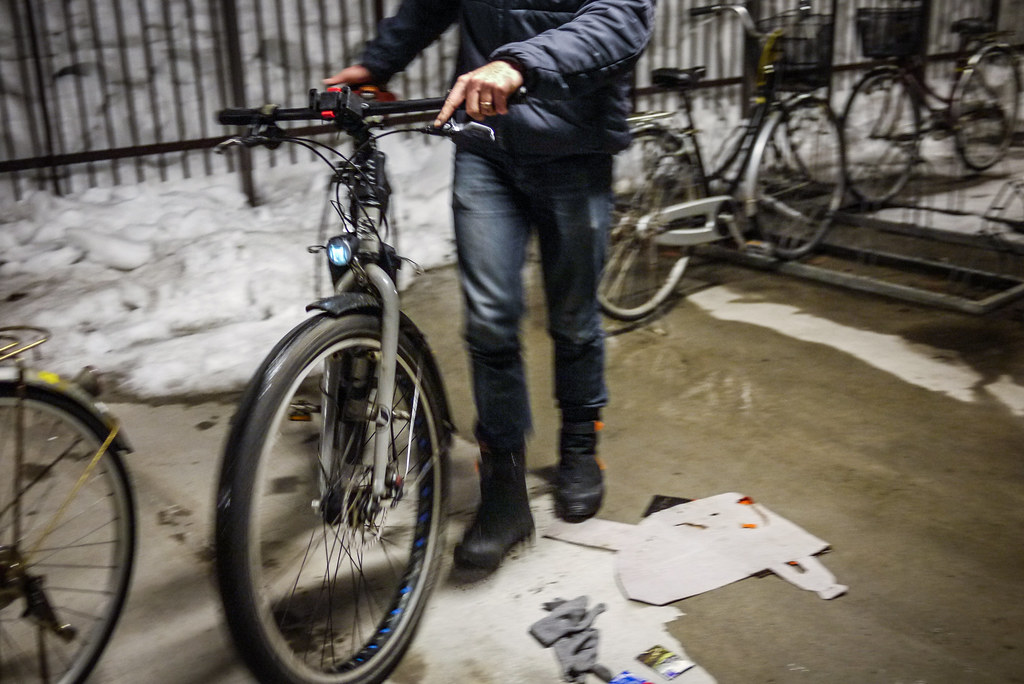
After a third of a year on the knobbly crunchy spiked tires, the slicks feel like I’m on a magic carpet: Quiet, smooth, steering more direct. Lovely.
 Jobs still to do:
- Change handlebars to ‘butterfly’ trekking bars
- Take the bike to bits and re-apply anti-rust to the inside of the frame
- Change the brake pads (Aztec Organic are my pick for quiet braking)
- Get the dynamo-powered back light wired up