Day 898 – NEW ZEALAND: Wear a Helmet

I was perusing the www.skatefurther.com forum today and came across a link to www.whoisadamcolton.com‘s upcoming solo skate journey in Peru, Bolivia, Argentina, and Chile.

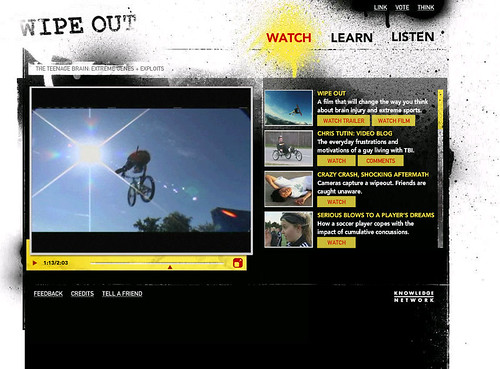
In true world wide web surfing fashion, I ended up clicking on a link in Adam’s website about helmets. He condones helmet use in skateboarding. So do I. And here’s a wee website that will make you condone it too. Link found via Adam’s website. Just click on the image to start watching some very compelling videos.

Wipeout

Day 818 – NEW ZEALAND: Street Machine GTe back to its former glory

Waaay back in Switzerland when I decided to send my bike back to New Zealand, I got a shock when I did some research on how much it was going to cost to get a regular sized bike box to New Zealand. I was even considering just leaving the bike in Switzerland due to the high cost. It was going to cost 300 Pounds Stirling to get it to New Zealand. Big bucks.

The only solution I could figure out was to try to get the bike into a smaller box. That way, I would be able to send it surface post via the local post office, rather than through a dedicated shipping company. This meant that I had to take the bike to bits big time. The bike is full suspension, so the frame breaks down into three separate bits. With no intention to re-use the cables etc once I got back to New Zealand, I threw those out. I did the same for the chain tubes. Putting the thing back together and getting all the parts took the better part of two days.

I got the bike together in the end, but not without some improvisation.

A standard recumbent bicycle uses a chain three times the length of a standard upright bicycle chain. Often the chain runs through plastic tubes to stop the chain from rubbing on clothing, and to keep dirt off the chain. After 12,000km, the original chain tubes on my bike were well and truely worn, despite them being made of low-friction PTFE plastic.

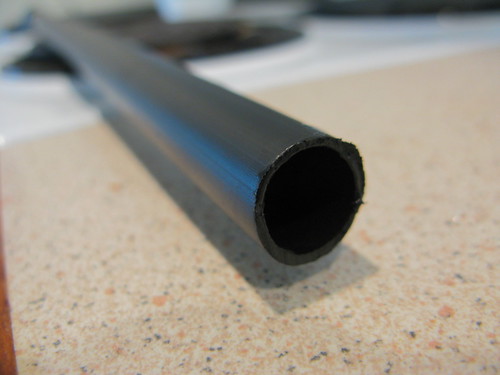
Even in Auckland, the biggest city in New Zealand, I could not find PTFE tubing in the correct size (15mm outside diameter, with at least 1mm wall thickness). So I had to settle with the slightly less friction resistant polyethelene garden irrigation tubing.

A small but significant challenge was moulding the tubing to my use. I had to straighten the tubing, which was easy enough (pour boiling water down the tubing while holding the tubing upright). I also had to spread the ends of the tubing in order to prevent the chain from catching on the edges of the tube.

TOP TIP: How to Spread the Chain Tube Ends for a Street Machine GTe Recumbent Bicycle

For this trick, you’ll need three things; a bottle of Finish Line chain lube, a cup of boiling water, and your chain tube cut to the correct length.
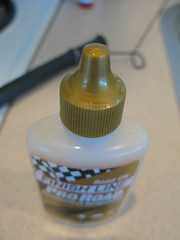
How to spread the ends of a chain tube for a Street Machine GTe recumbent bike How to spread the ends of a chain tube for a Street Machine GTe recumbent bike

How to spread the ends of a chain tube for a Street Machine GTe recumbent bike

Put the end of the chain tube in the boiling water for 30 seconds.
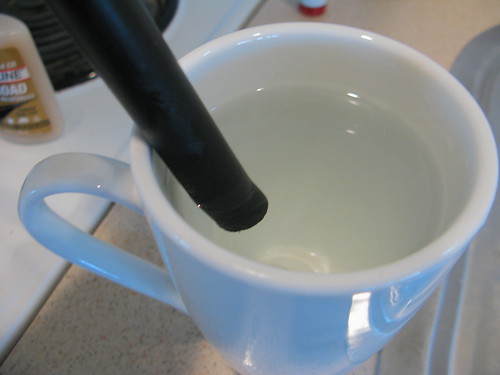
How to spread the ends of a chain tube for a Street Machine GTe recumbent bike

Remove the chain tube and quickly transfer it to the lube bottle cap without delay. Once over the tip of the cap, push down firmly so that the soft end forms to the shape of the cap. Push down enough so that the edges of the tube push past the edge of the cap by about 1mm. You’ll need to really shove hard.
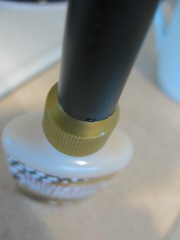
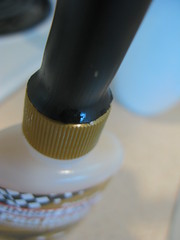
How to spread the ends of a chain tube for a Street Machine GTe recumbent bike How to spread the ends of a chain tube for a Street Machine GTe recumbent bike

Keep the pressure on for about 20 seconds, and then remove the chaintube from the cap. If you remembered to put the chain tube guide on before you started (for a Street Machine GTe) then you can now slide the chain tube into place.
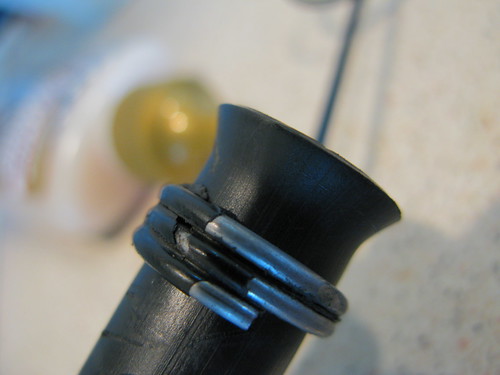
How to spread the ends of a chain tube for a Street Machine GTe recumbent bike

Reason for not biking across China

Lynley asked why it is that I took a train across China rather than biking across. I think this is a very good question and it deserves a good answer.

Actually it is quite easy. I need to get through Tajikistan before winter.

I am planning on cycling the Pamir Highway in Tajikistan. This is a road that at parts follows the border between Tajikistan and Afganistan. It is also a road that for its majority is at an altitude of over 3500m, and has passes at 4600m. To do this in late autumn or early winter would be rather dangerous. Therefore unfortunately I could not afford to take up to two months to get across China on my bike.

Maybe next time. ;)

Pre-Departure (1 day): Showtime!

Final preparations are coming together.

I have 26kg of equipment.

Including bottle cages, fenders, racks etc, the bike weighs 19kg.

I am 77kg.

My next blurb will be from Korea.

Leaving the Fukuoka Hakata Bay International Terminal at 12:30pm tomorrow (Sat. 22nd of July, 2006).

I leave you with this:

“To succeed in life, you need two things: ignorance and confidence”. Mark Twain

I would like to assure you all that I have no idea about cycle touring. It’s gonna be a steep learning curve!

Pre-Departure (2 days): War on Weight III

Today’s savings: 292g
Total savings to date: 1038g

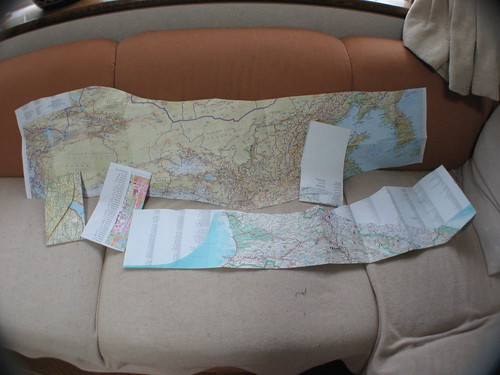
Today the maps were in my sights. I removed all areas of the maps that I do not plan on going to, and in that way saved 292 grams. This brings my total amount saved to date to over 1 kilogram. Considering that wieght is the same as one litre of water, that’s a very important saving.

Maps cut / 切った地図

Pre-Departure (3 days): Website updates

Some updates to this website today:

  • My profle. Let’s you know a little bit more about me.
  • Detailed gear list. It’s massive. Any comments about things you think I should be taking but haven’t listed, or things I have listed that you think I don’t need would be most appreciated. The list was organised while referencing to the organisation of Martin Adserballe’s comprehensive gear list.

Cheers.

Pre-Departure (11 days): War on Weight II

Today’s savings: 689g
Total savings to date: 746g

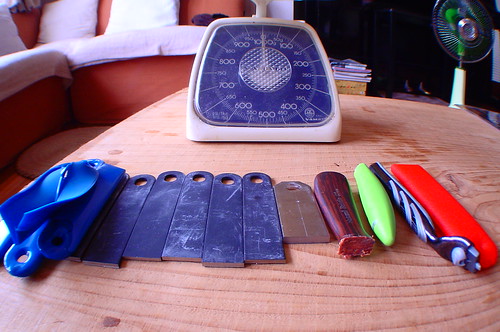
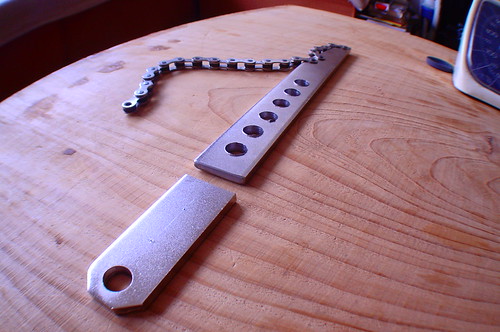
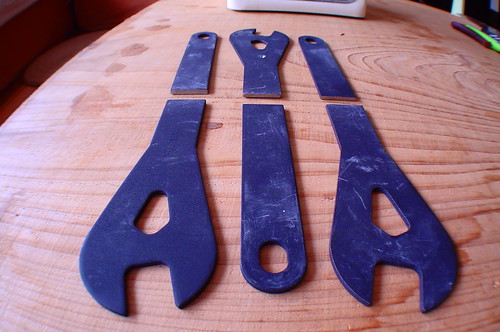
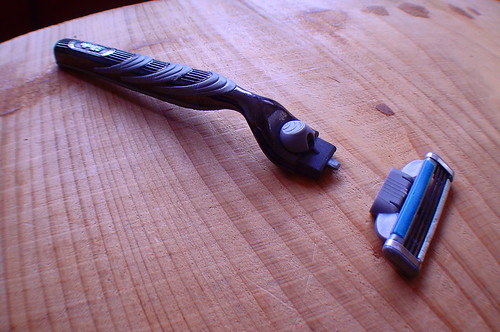
Right. No holds barred today. All handles in my sight were removed. Shaver handle, toothbrush handle, cone spanner handles, chain whip handle…

Who needs handles 4 / ハンドルなんて要らない!④

Who needs handles 2 / ハンドルなんて要らない!②

Who needs handles / ハンドルなんて要らない!

Who needs handles 3 / ハンドルなんて要らない!③

As for the shaver handle, if you’re using the Gillette Mach III, then the little stub is just big enough to hold between the thumb and forefinger for an exciting shave. I say exciting because for the first few shaves, there is a tendency to push to hard. Expect a few chainsaw massacre episodes…

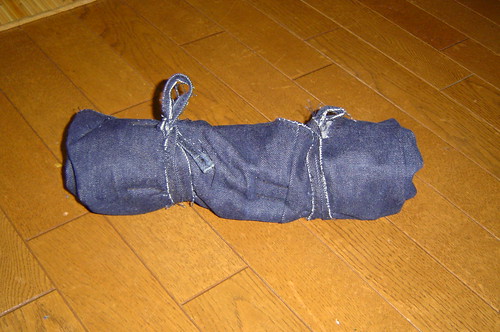
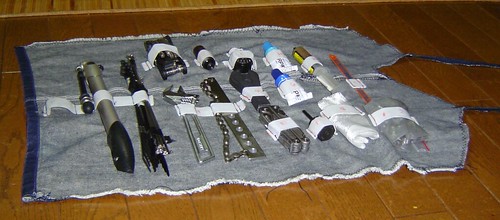
I also put my fourth form sewing class skills to the test and made a roll-up tool case for all the ‘hope I don’t need to use these too often’ tools.

Tool case / 道具巻き

I call it ‘The Brick’. 2.2kg of metal. Argh.

Tool case open / 道具巻き

From left to right, top to bottom: Suspension/Tyre pump (spare), spokes and cable ties, bike multi-tool, spanner, crank remover, chain whip, bottom bracket socket, cone spanners, plier multi-tool, expoxy resin (for seat repair), freewheel socket, grease, fibreglass cloth, hacksaw blade, length of chain and various bolts.

Pre-Departure (13 days): The war on weight

Today’s savings: 57g
Total savings to date: 57g

Today begins a series of posts on reducing the weight of my gear that I’ll be taking on the trip. Not one measley one gram will escape my obsessive eye. This war on weight is in part inspired by another recumbent rider, also called Rob, who is currently slowly being grilled like an English Rice Pudding under the Chinese sun on his way through a 25,000km trike ride around China. Hang in there, Rob!

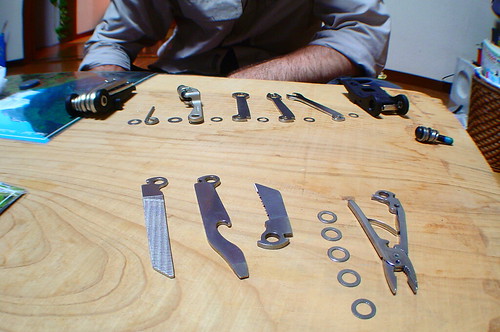
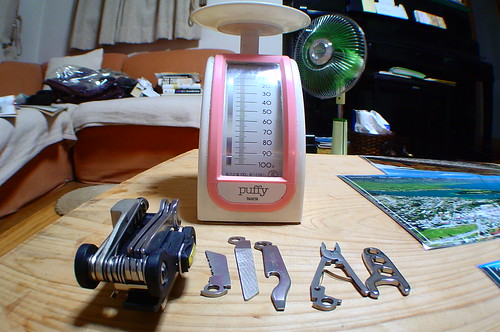
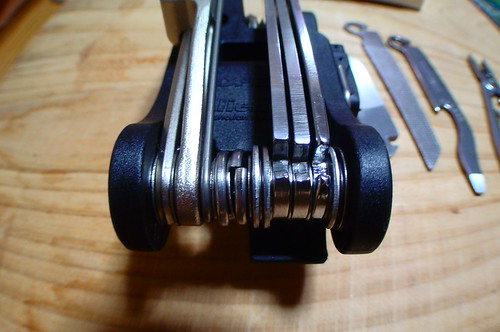
Today I removed the unneccessary tools from my bike multi-tool. The ones I removed are not only small and useless (take a look at the ‘pliers’ there – they are too small to be of any use), but they are also found in much more substantial form on my large folding pliers multi-tool.

Saving Weight / 軽量化

Saving Weight 2 / 軽量化 2

Saving Weight 3 / 軽量化 3

Pre-Departure (50 days): New video

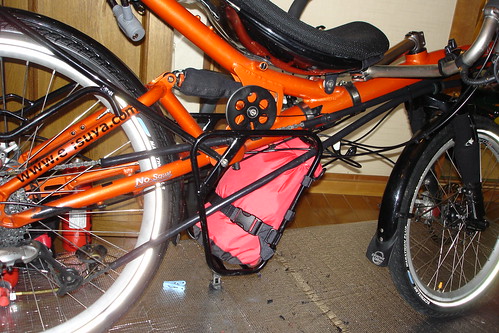
On a scale of cheap processed cheese to thick and creamy Swiss fondu, this video is dripping with fondu. I have made a video where I am describing the recumbent that I’ll be riding on this trip. It sounds more like an infomercial than anything else. But the goal of the video isn’t so much to introduce the bike, but to assure potential sponsors that I can actually speak Japanese. Already I have had a nibble on the sponsorship side of things, so it will be interesting to see how things pan out over the next couple of weeks.

Check out ‘The 14degrees Bike‘ video.