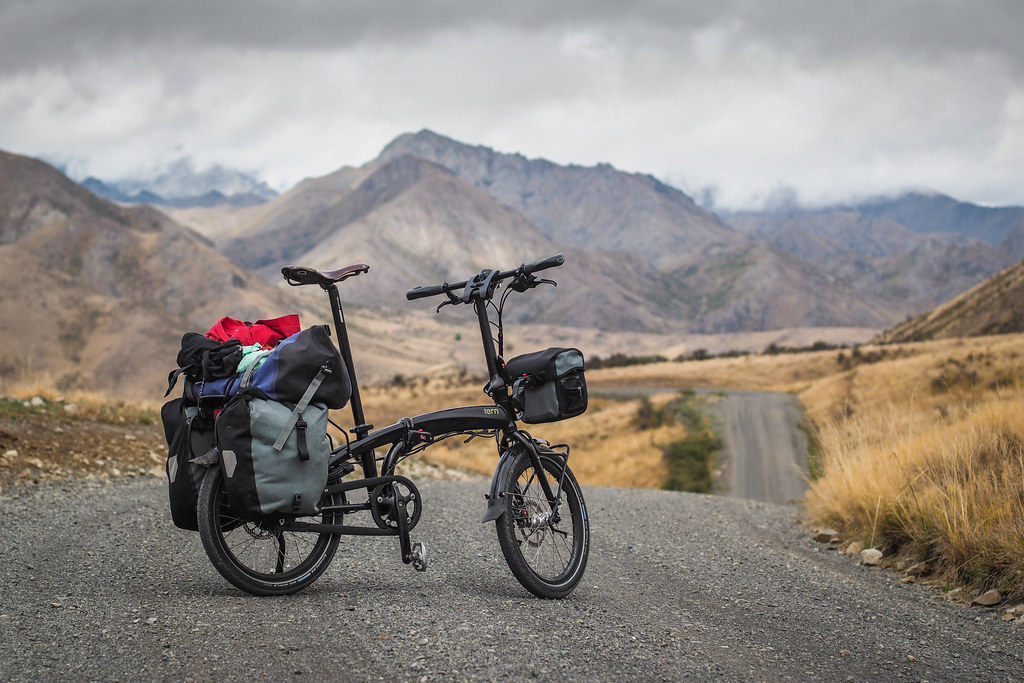
I took Tern’s dedicated cycle touring 20-inch folding bike, the Verge S27h, on one of New Zealand’s more challenging back-country gravel road routes this past week – the Molesworth Muster Trail. The plan was to see some of New Zealand’s spectacular remote scenery, and also put the bike through its paces – can a 20-inch folder (and its rider) handle the rigors of almost 200km of corrugated gravel and 3,300m of vertical climbing over four days?
After four days’ riding, here’s my summary:
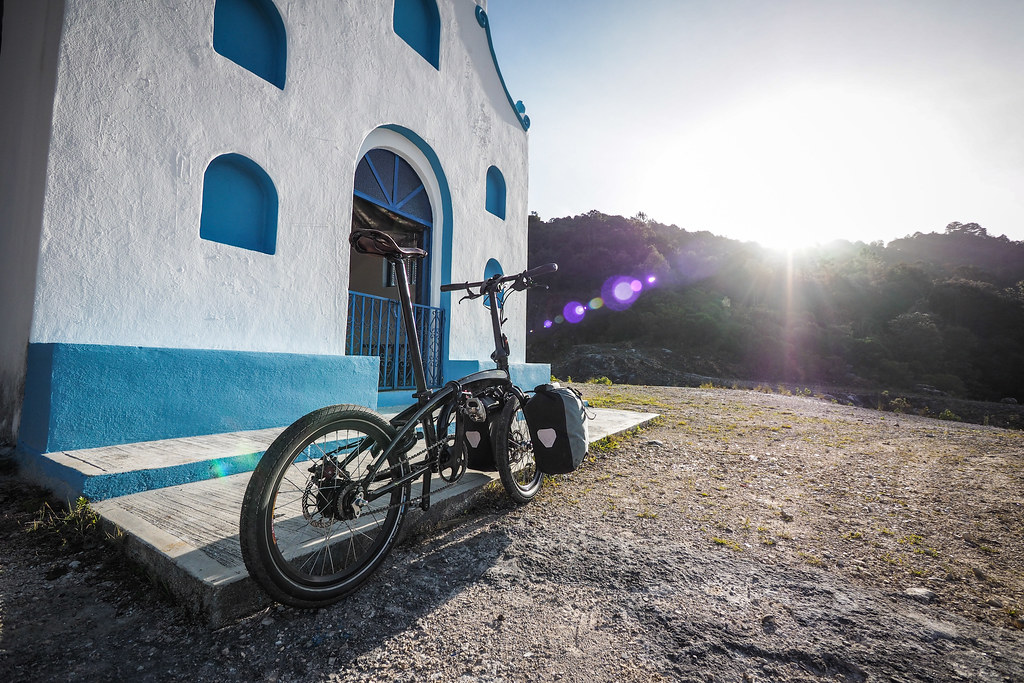
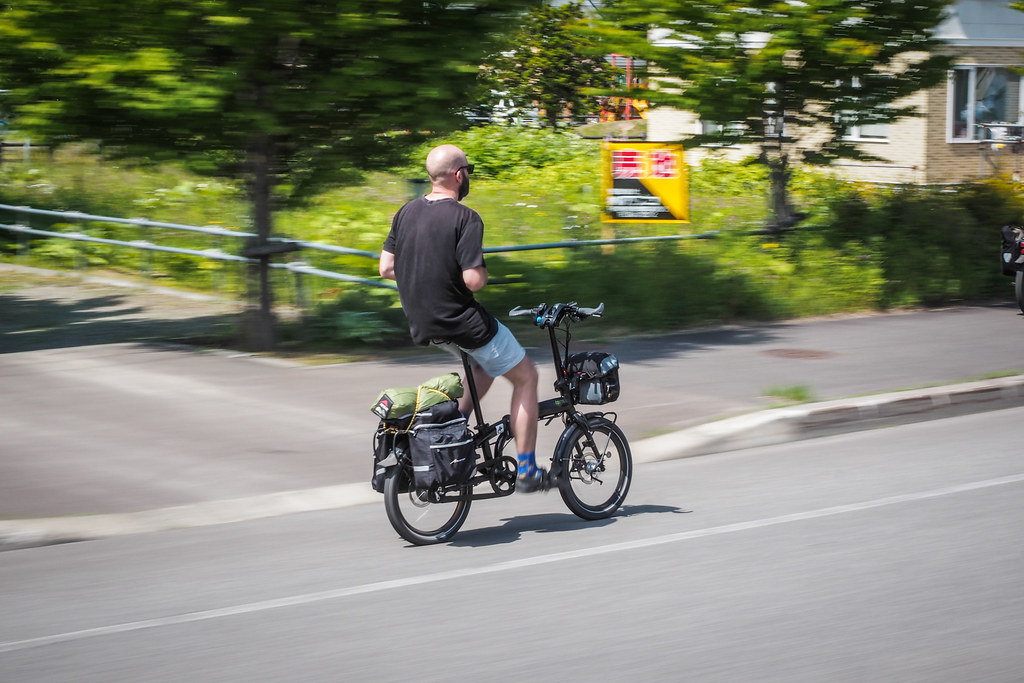
Overall – Considering the ease with which the folding form factor allows me to transport this bike, the Tern Verge S27h is a fantastic bike for short-notice, on-a-whim cycle touring – including gravel roads.
Pros
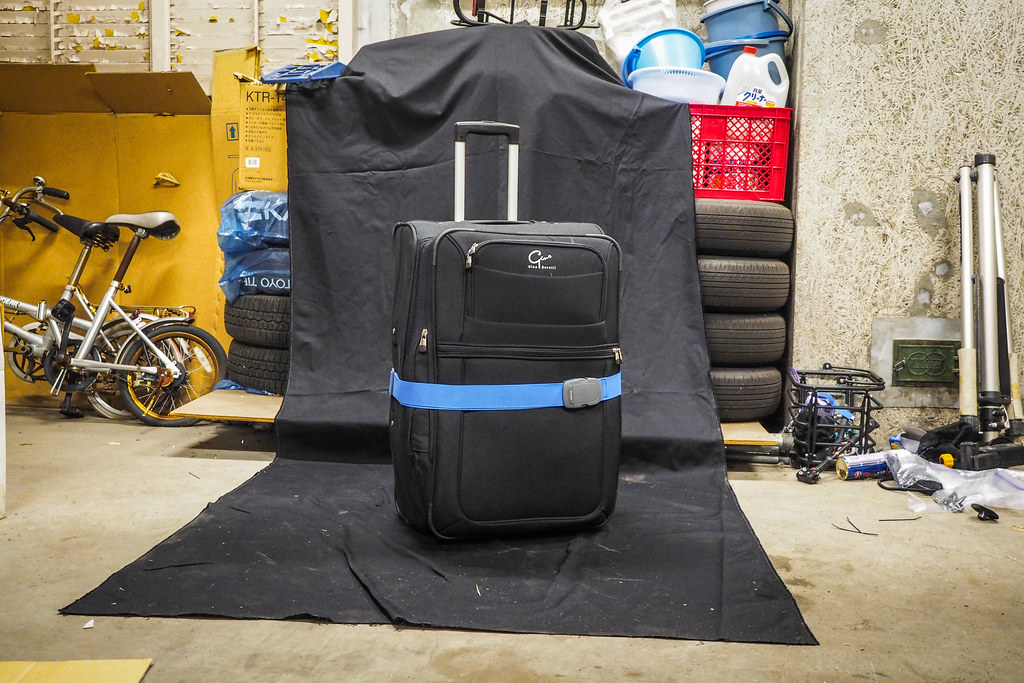
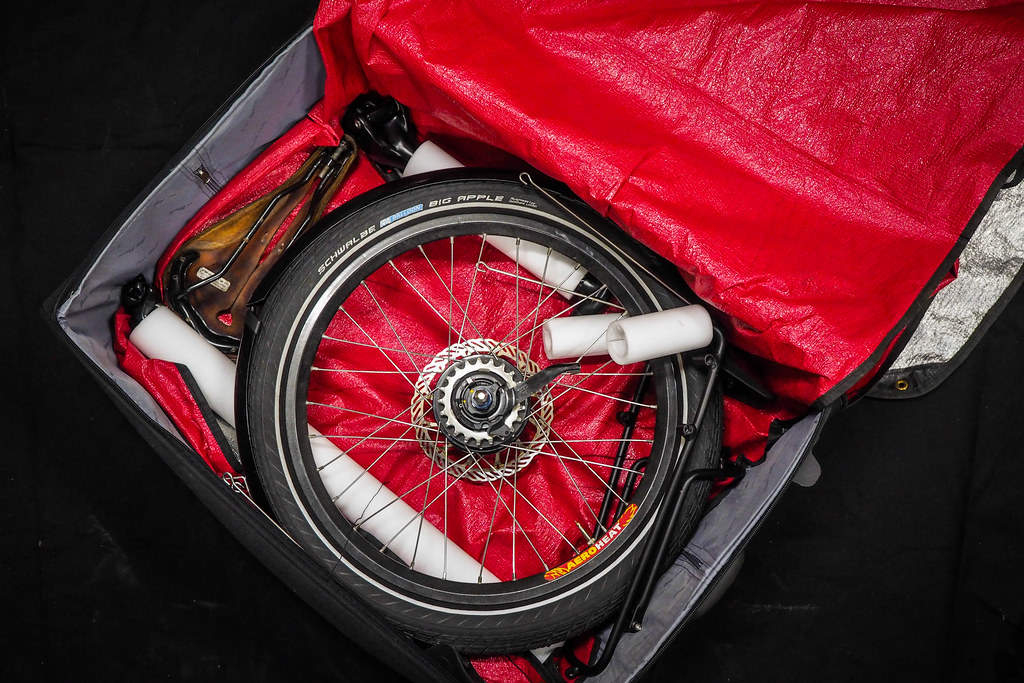
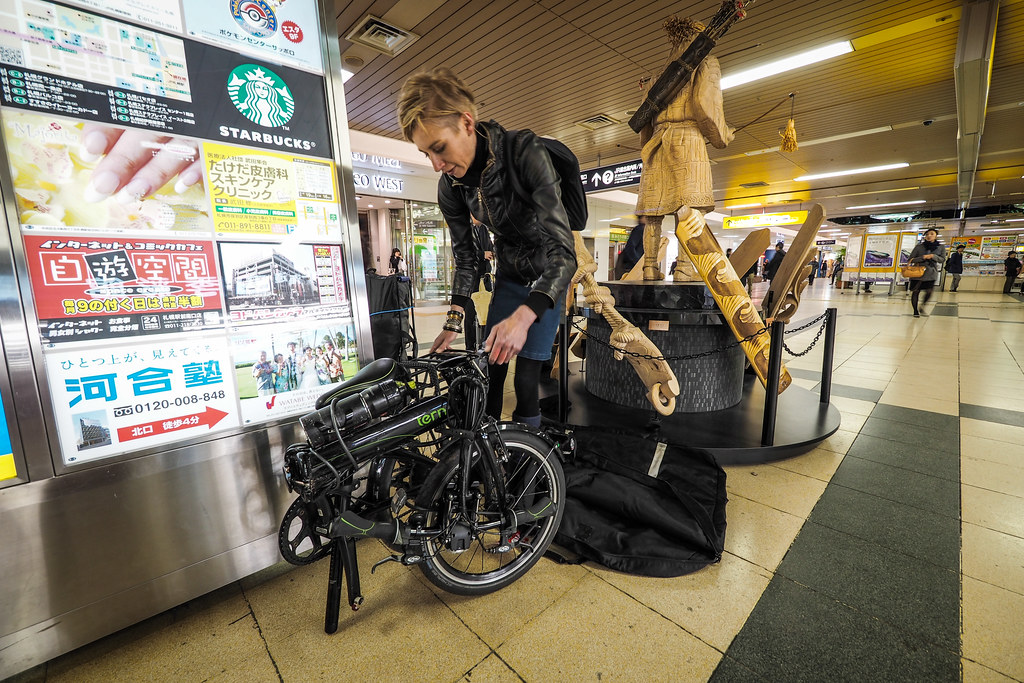
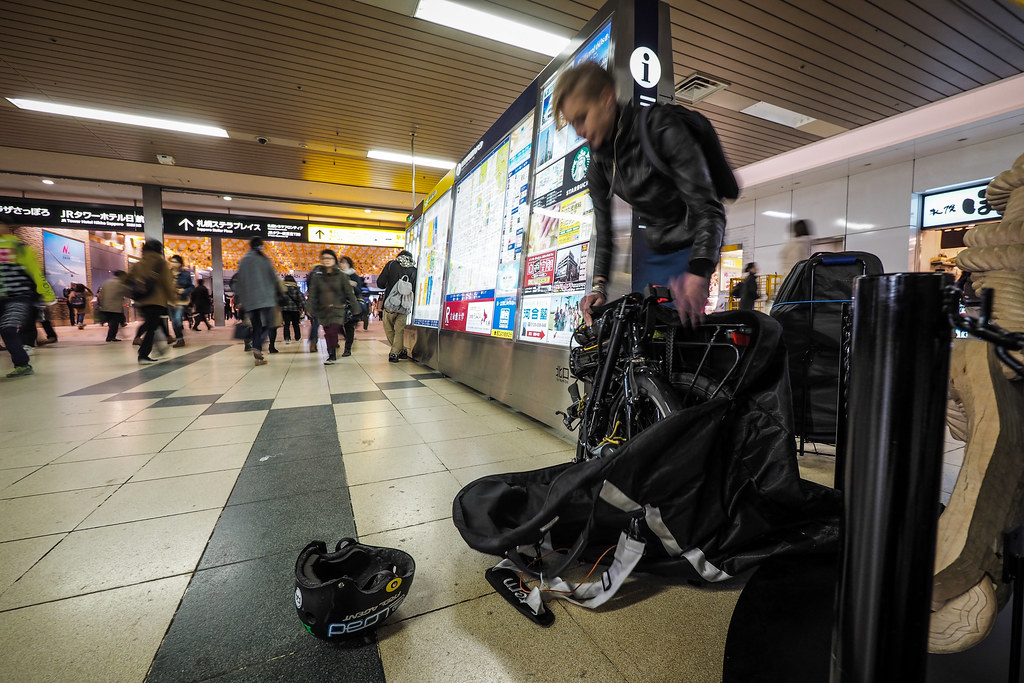
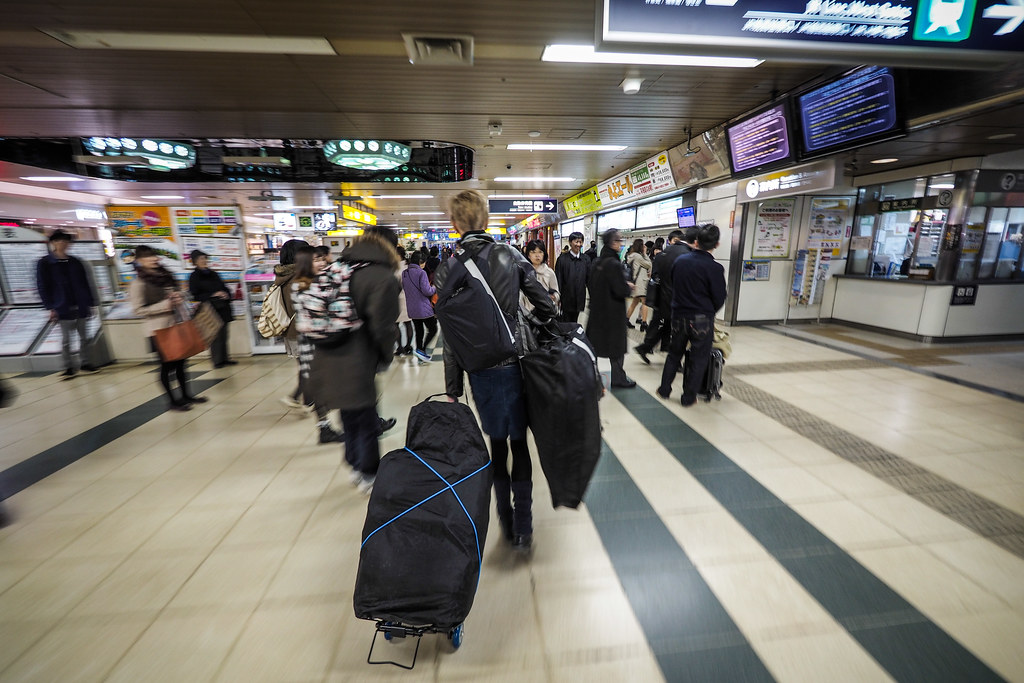
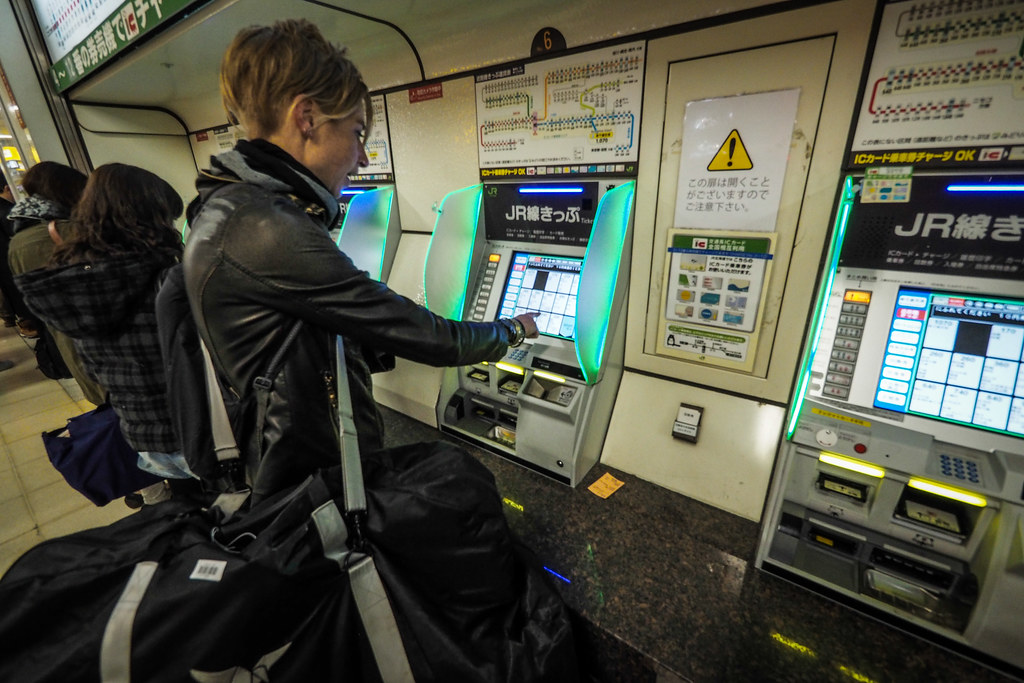
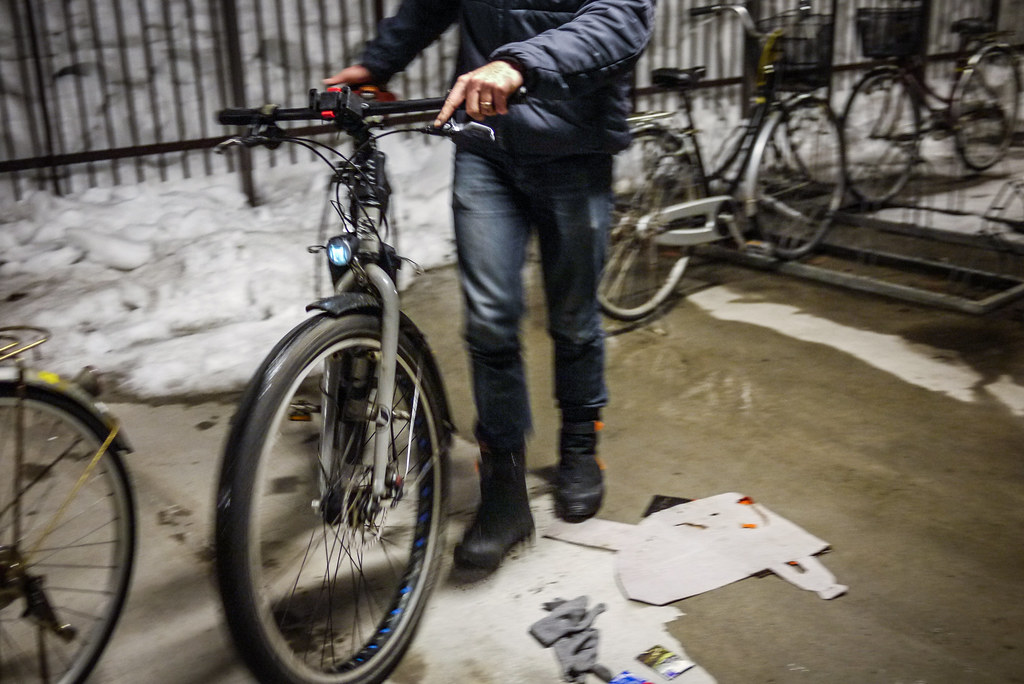
- The ease with which the bike can be folded and taken on public transport (airplane, bus etc.) cannot be overstated.
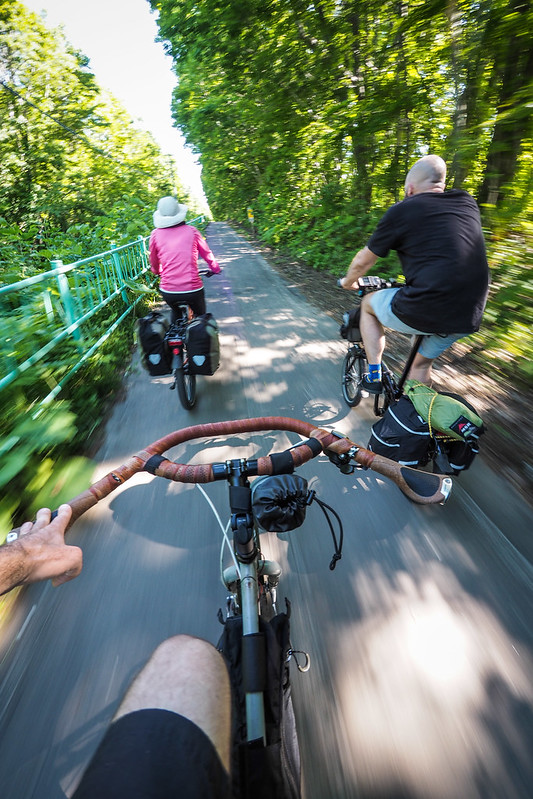
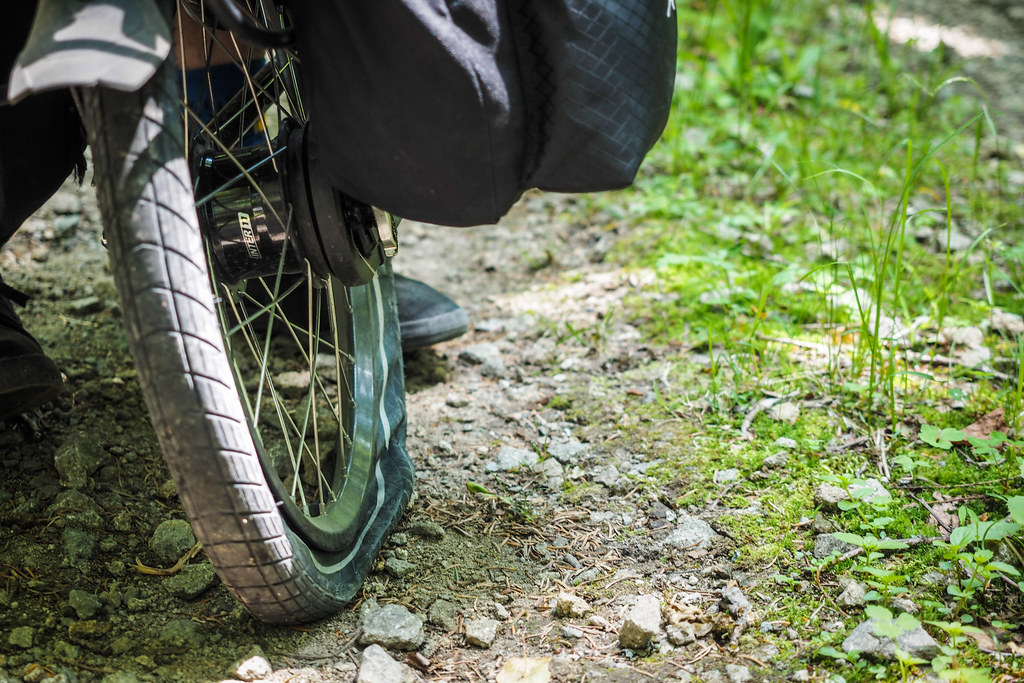
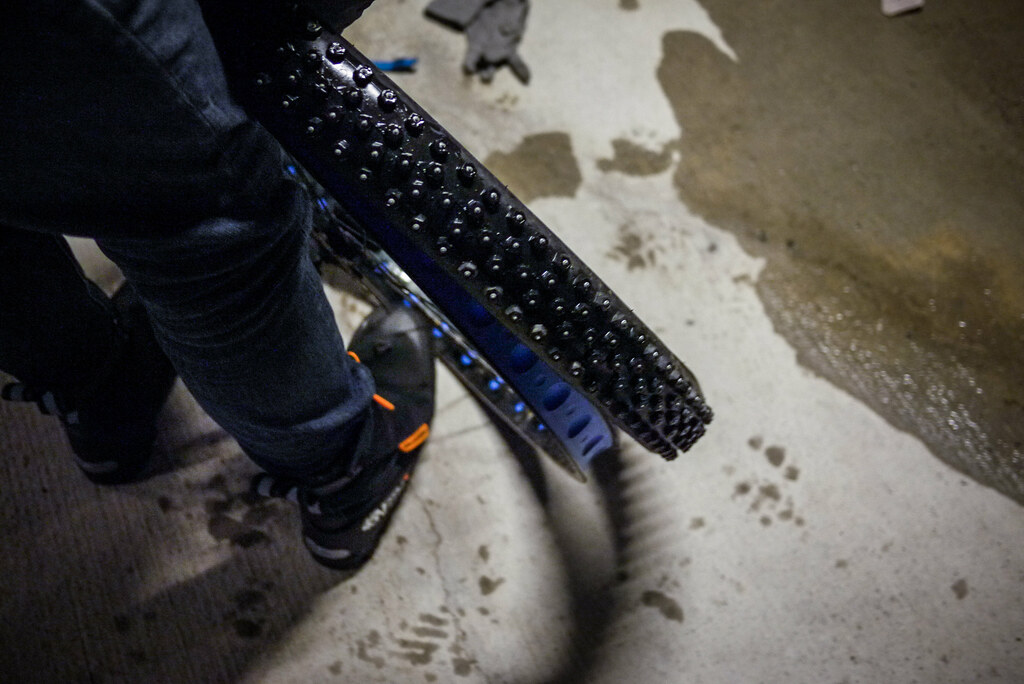
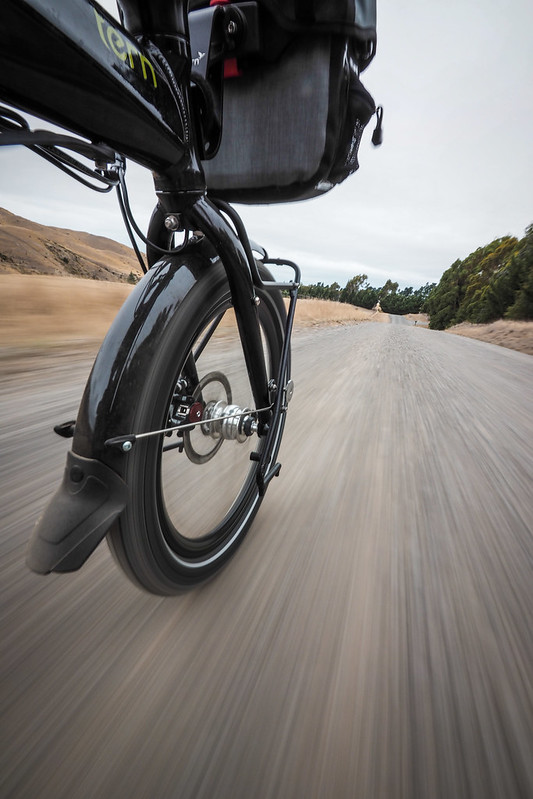
- Super solid-feeling bike, even over rough gravel roads – the fat tires are superb. For a 20-inch wheeled bike, this thing eats up rough terrain.
- The long wheelbase is awesome – the bike yearns to travel in an effortless straight line.
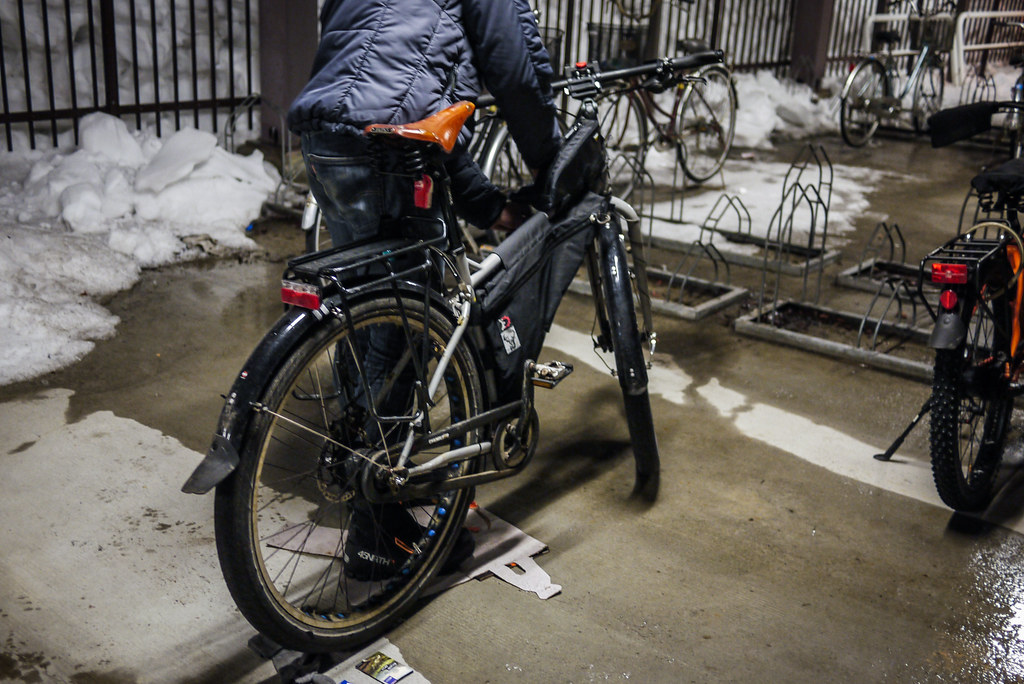
- Loaded up with heavy panniers, the bike shines – so stable.
- The cargo rack is superb – the low pannier rails are great.
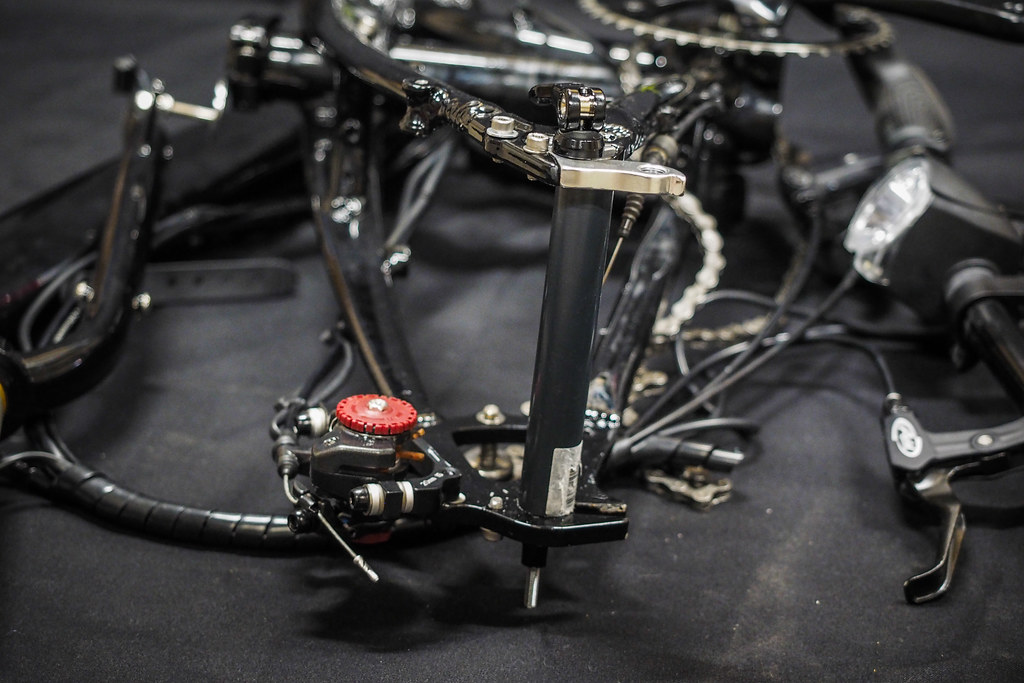
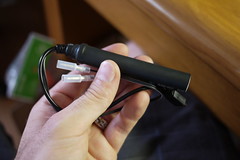
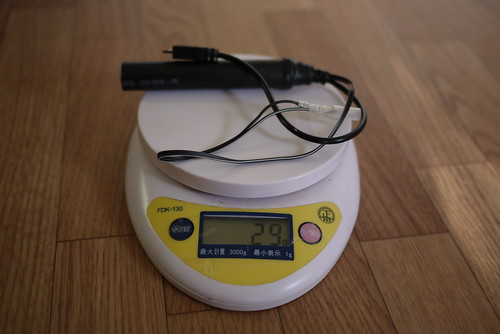
- The seat post pump was very handy.
- Those BB7 disk brakes – so reliable and powerful.
Cons
- For gravel road cycling, this bike will never compare to a big-wheeled expedition bike.
- More care is required in picking one’s line through the rough stuff.
- On the gravel roads, I felt bumps more than I would have on my 29er touring bike.
- Softer wet patches felt slower than they would have on a larger-wheeled bike.
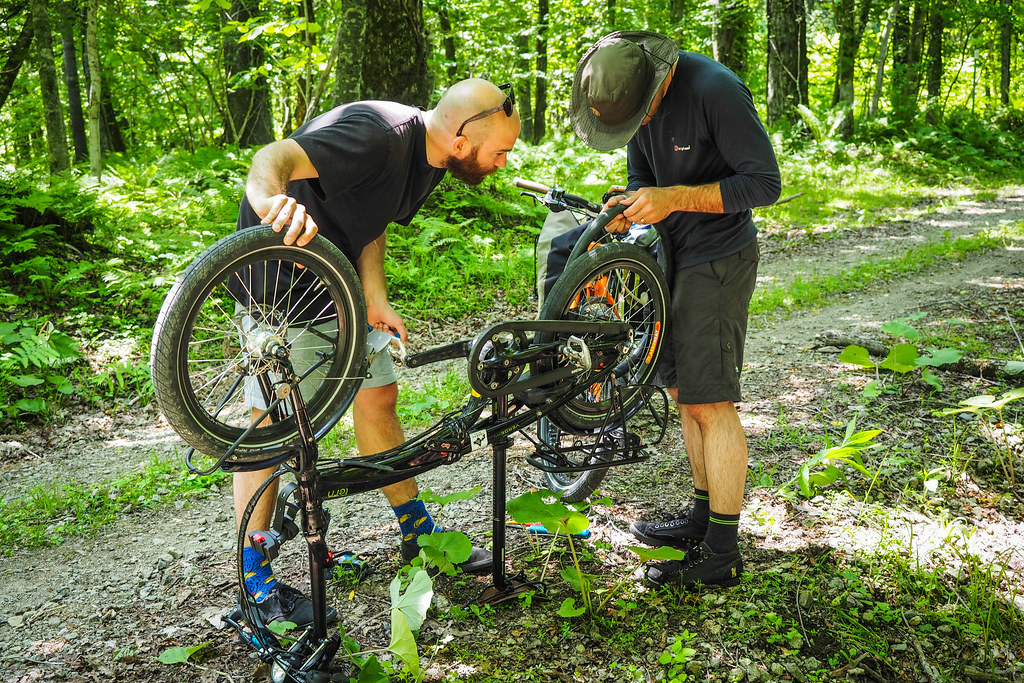
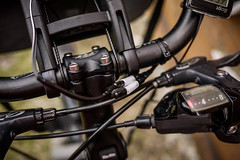
- On the morning of the second day of riding, I did a check of all the bolts on the bike. A disturbingly large number of them were loose, including the brake adapter bolts! This is clearly a factory issue, so make sure you check and tighten all bolts before heading off.
- No bottle-cage mounts(?!). Seriously, there is nowhere on this bike to directly screw a bottle cage onto the frame. For a dedicated tourer, this is very curious! (UPDATE 2015/5/27: Thomas, the designer of the S27h from Velowerks, was kind enough to give his opinion about this on my previous post here; his reasoning sounds perfectly sound…looks like I need to find a bottle cage adapter).
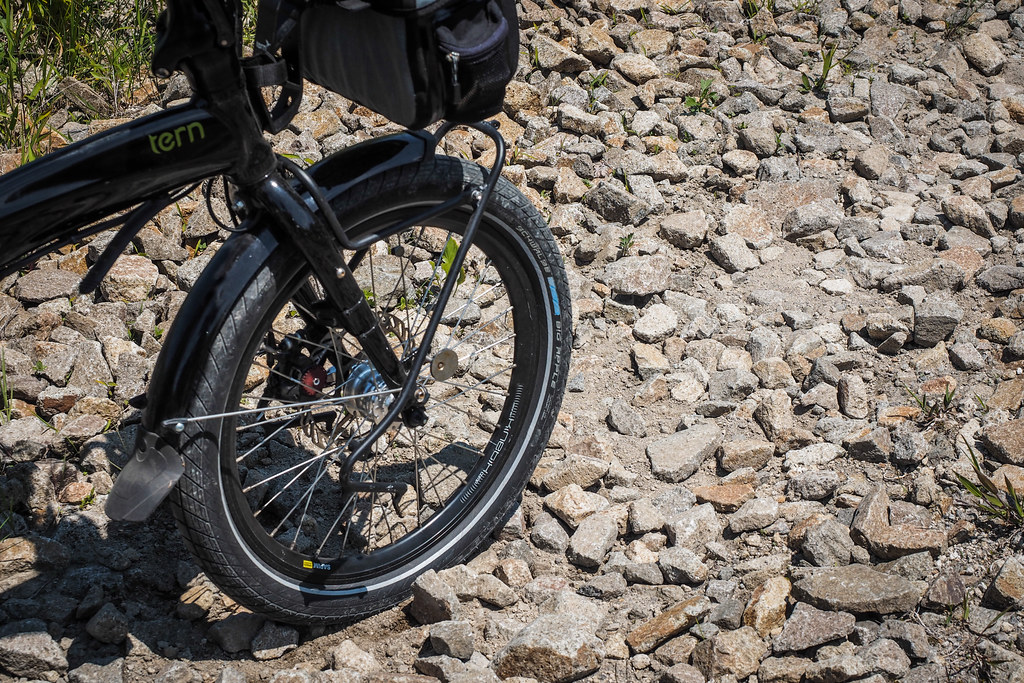
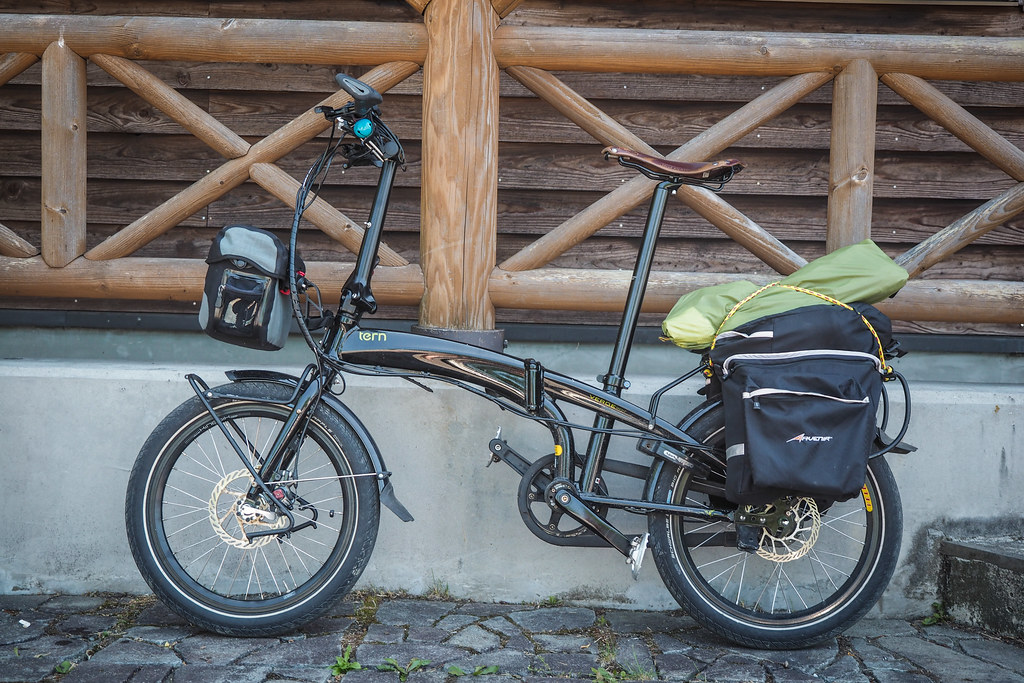
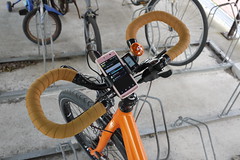
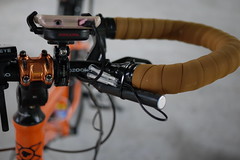
The bike
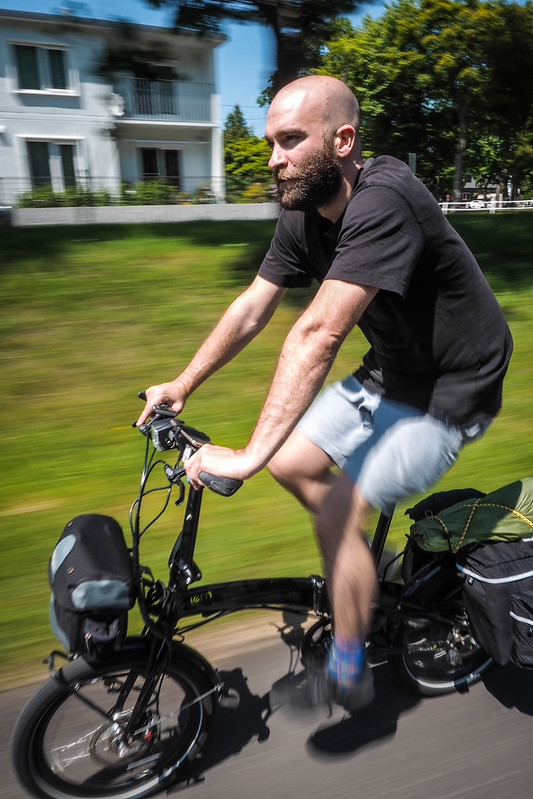
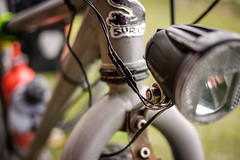
Developed in collaboration with Velowerk in Switzerland, the bike is Tern’s dedicated folding touring bike, the Verge S27h. It is built from the ground up to be a solid, versatile bike: front and rear racks, eccentric bottom bracket (allows for hub gears without chain tensioners), Avid BB7 mechanical disk brakes, wide (2.15 inch) tires, dynamo hub lighting, and a long wheelbase. The bike’s catalogue weight is 16.4kg – this is no lightweight.
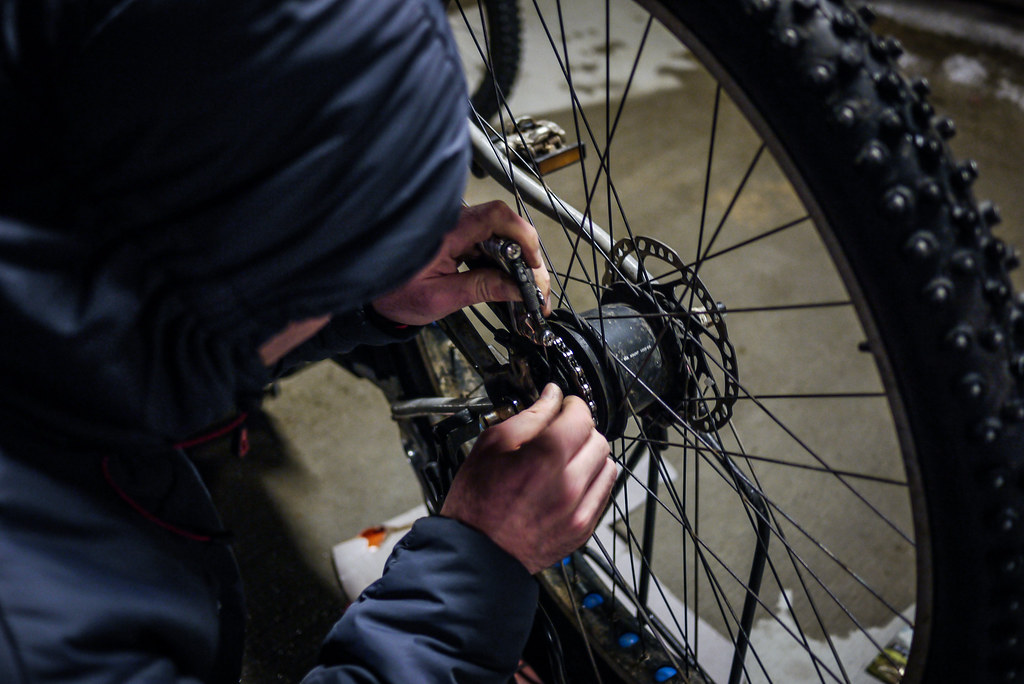
Gears/drivetrain
In the gearing department, the bike came equipped with a Sram DualDrive system. This consists of a three-speed internal gear hub on the rear wheel, to which a 9-speed cassette is attached. That gives you 27 gears without a front derailleur. I really can’t be bothered with the maintenance associated with external gears (we live in northern Japan with 4 months of snow a year), so I had a new rear wheel built up using a Shimano Alfine 11-speed hub (I used a Velocity Aeroheat rim for the new wheel). Using an internal gear hub on the Verge S27h is a no-brainer; install, adjust the chain tension using the eccentric bottom bracket, and you’re set.
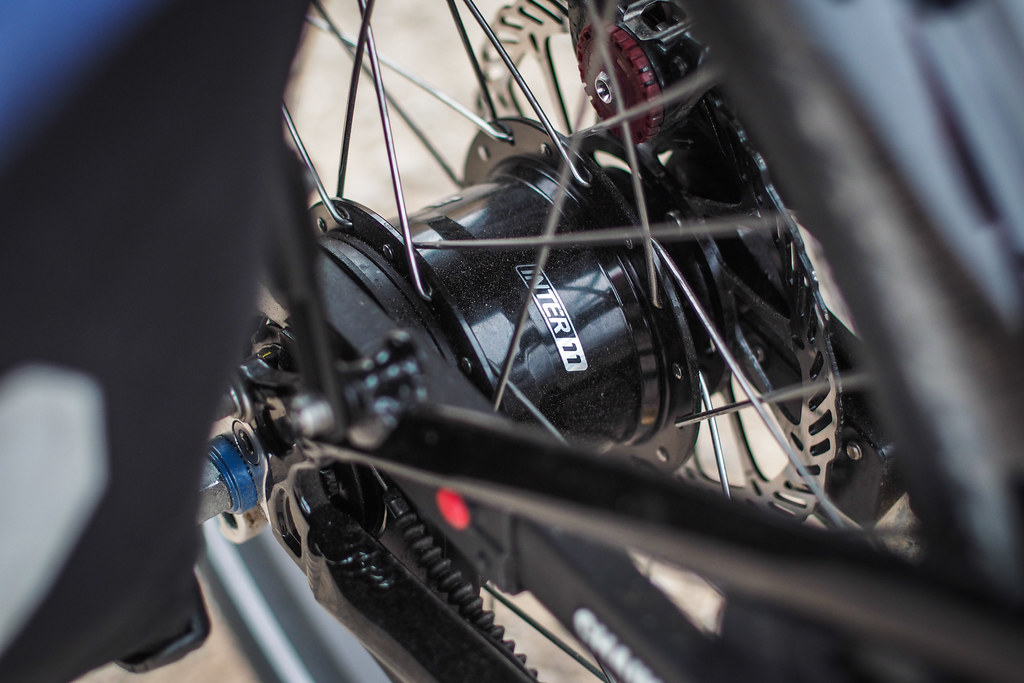
I’m also a fan of the Hebie Chainglider – a fully enclosed floating chainguard that keeps dust, mud, grit, and splashes of water away from the chain. The fully enclosed version only works with a single chainring at the front and a single cog at the back. That is, only if you’re running single speed or an internal gear hub. At present I have a 21-tooth cog on the back wheel, and a 42-tooth chainring. With the Alfine 11-speed hub, this gives me a gear range of approximately 19.7 to 80.4 gear inches. The original gear range on the bike, using the 46-tooth front chainring, SRAM 11-32 cassette and SRAM DualDrive hub, was 22 to 117 inches (link saved to PDF here).
Long story short, with the Alfine hub I have around the same ‘easy’ gear as the standard DualDrive setup, but have lost a little bit of the ‘harder’ gears (which I never use much anyway).

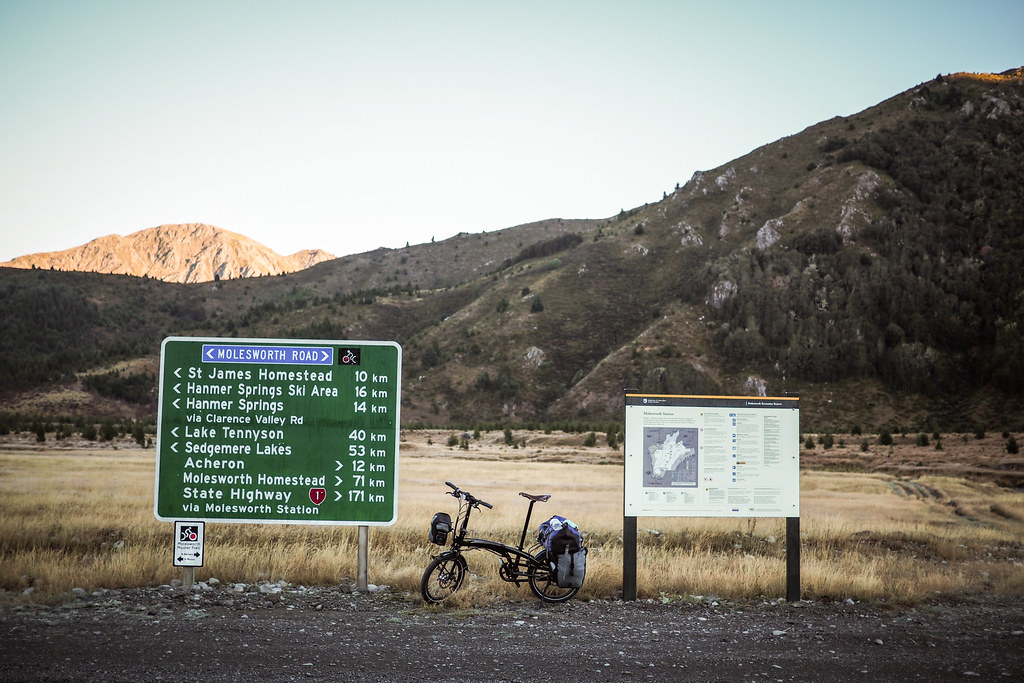
The Molesworth Muster Trail
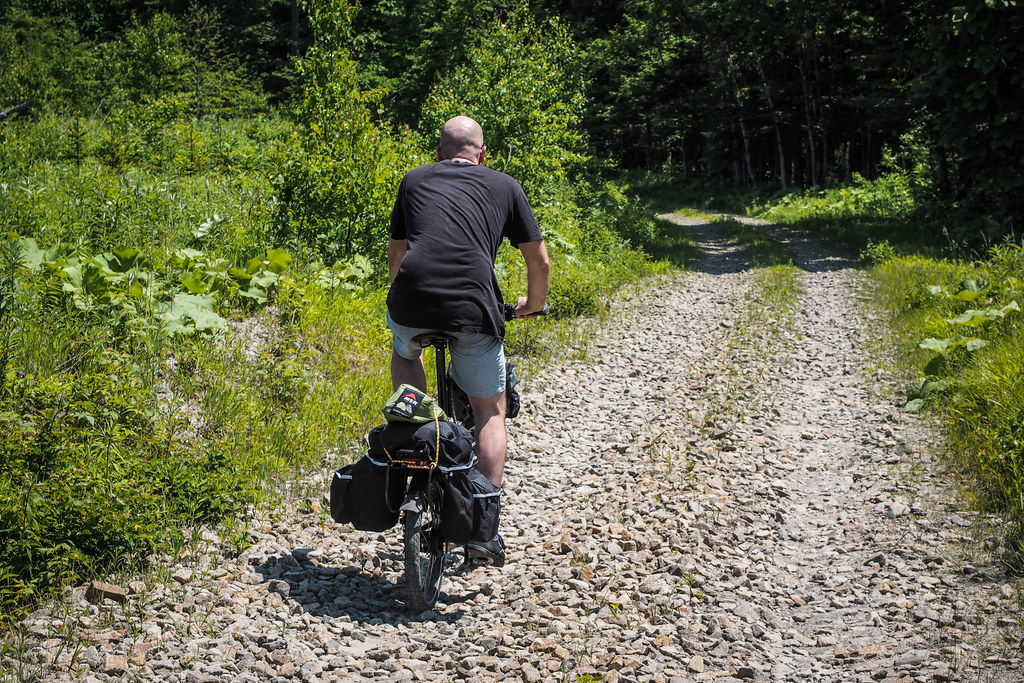
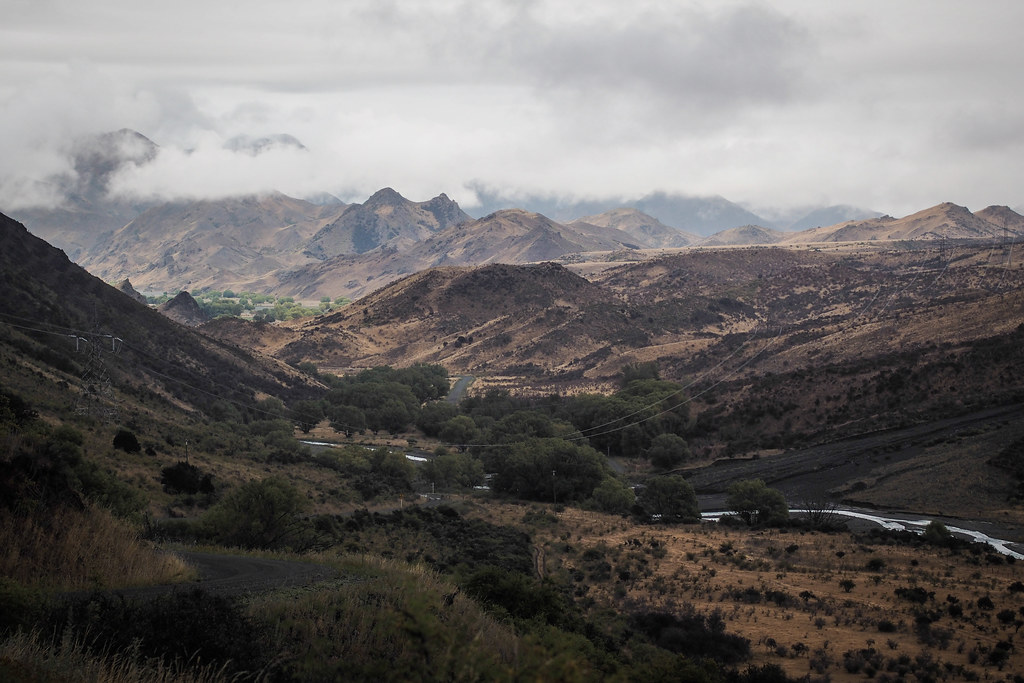
The Molesworth Muster Trail is part of the New Zealand Cycle Trail. This spectacular part of the trail starts in Blenheim at the top of the South Island and ends in Hanmer, the quaint little hot spa town in northern Canterbury. The total length of the trail is 207km, and is classified as a four out of a five point difficulty scale – the trail is almost exclusively on gravel roads, and consists of around 3,300m of vertical climbing.
The route is remote – after leaving either Blenheim or Seddon, there are zero shops for 200km. The route runs through Molesworth Station; New Zealand’s largest operating farm. Water must be either carried or filtered/treated from rivers along the way. The roads are hard-packed gravel, but suffer from washboarding/corrugations for much of the route. And the climbs…oh the climbs. They are steep. While not as long, they are easily as steep as many I’ve cycled in Central Asia. Two basic campsites run by the Department of Conservation (DOC) are available for NZ$6 a night, as well as one free campsite at Heddon Bridge. Wild camping is not allowed anywhere within Molesworth Station. Furthermore, the road is only open to the general public without a permit between December and April. The road can be closed during this time, however. Indeed, it was closed to automobiles on this occasion due to high fire risk.
I started the ride in Picton after arriving from Wellington on the InterIslander ferry, so my route was this one, below.
Day One - Picton to Redwood Pass – 40km (Saturday 21st Feb, 2015)
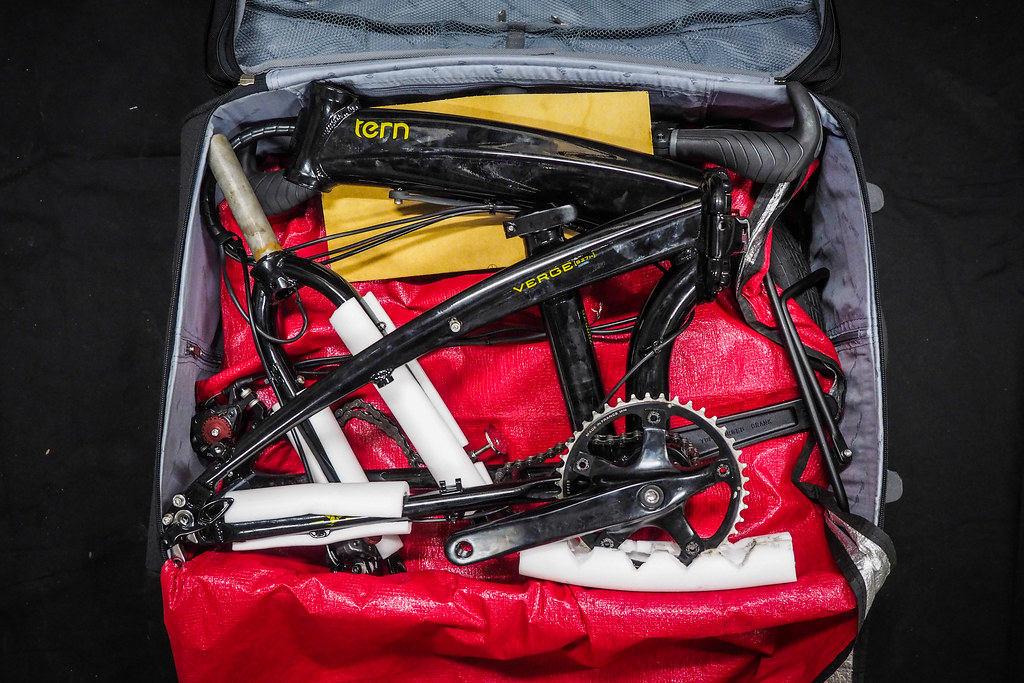
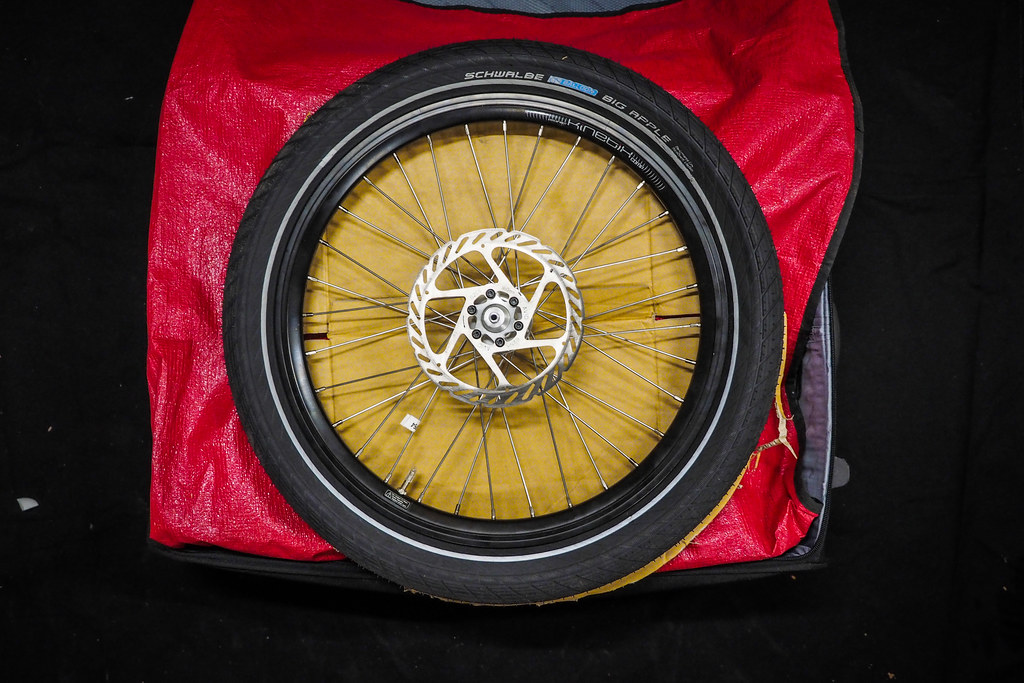
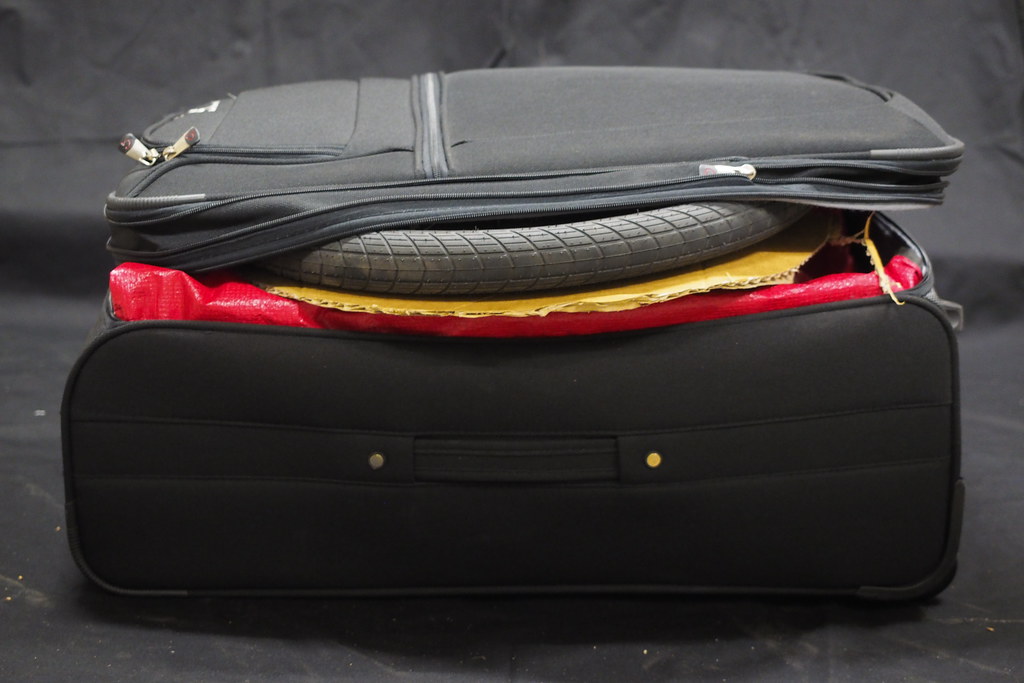
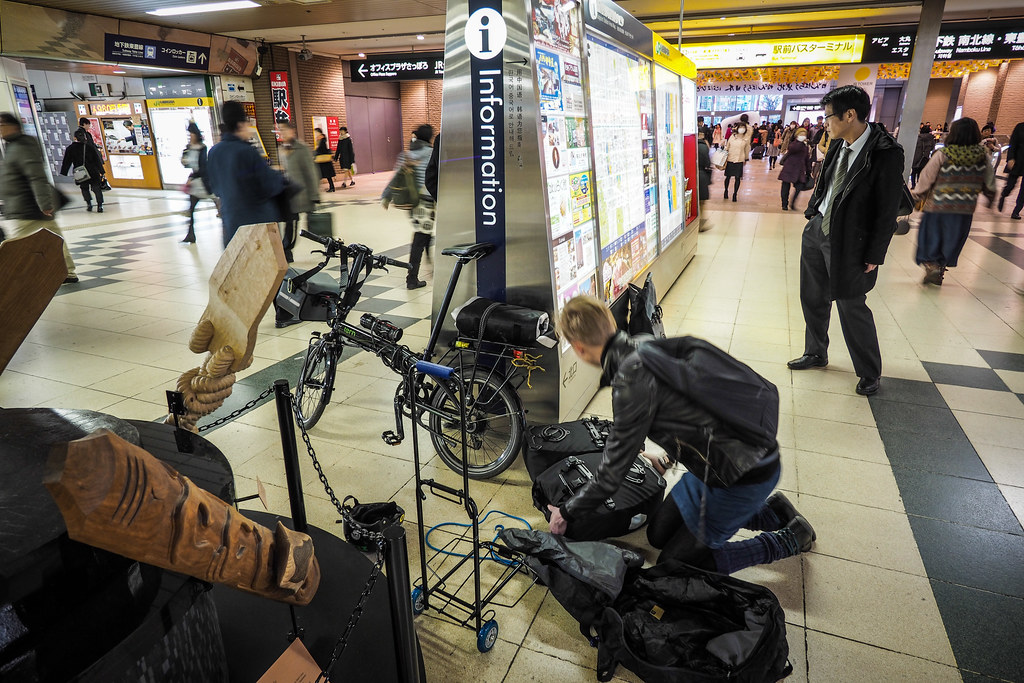
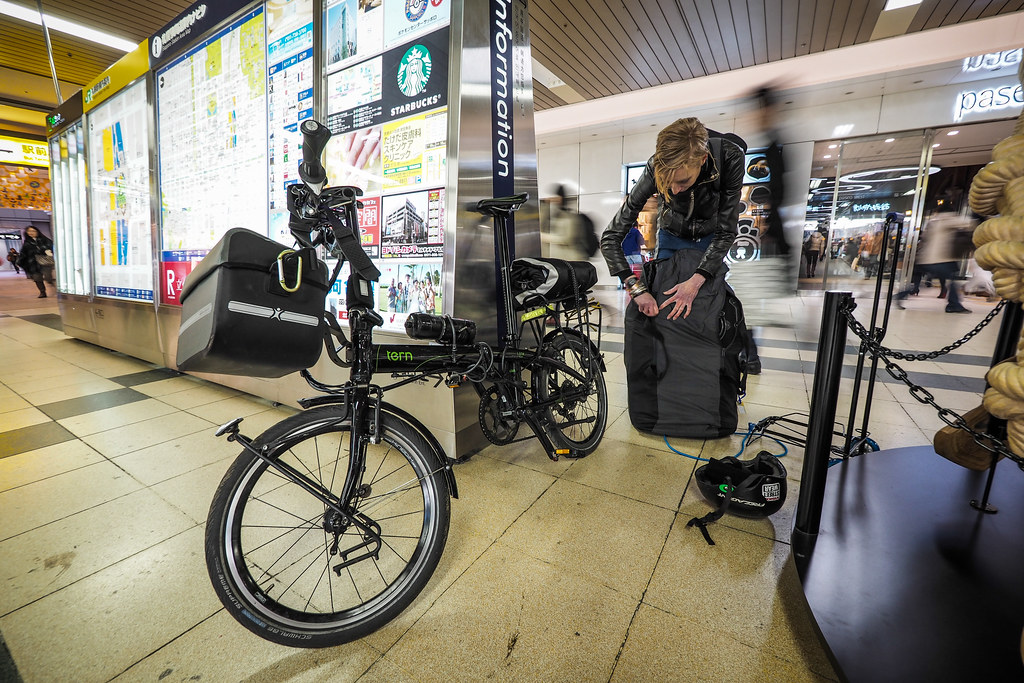
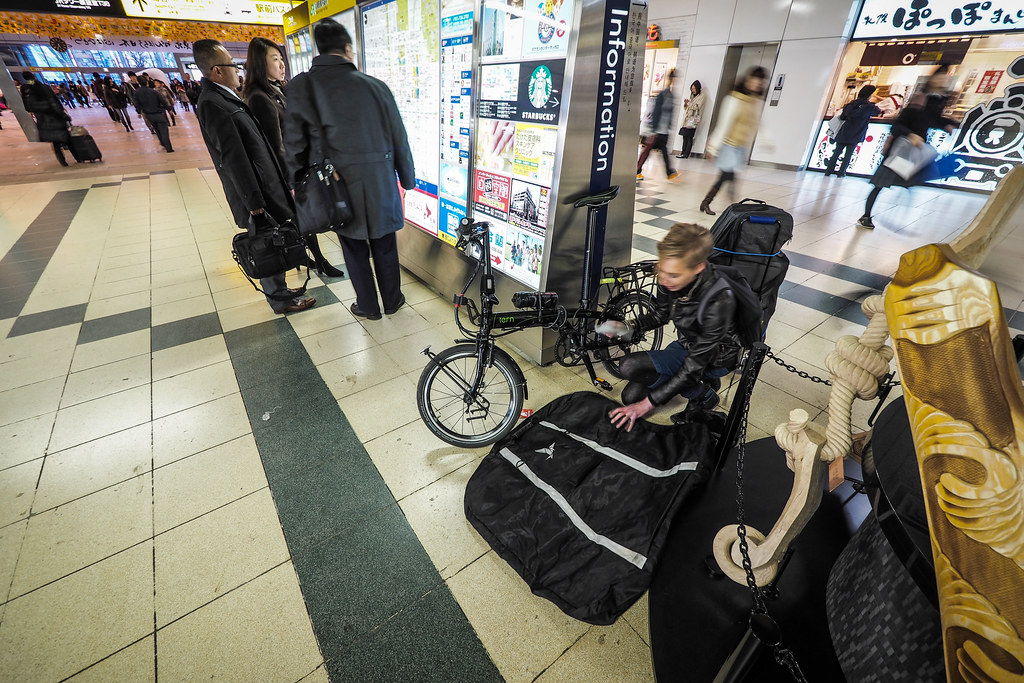
My first day of this trip actually started in Sapporo City, in northern Japan. I live in Sapporo, and was heading to New Zealand to visit family. What better opportunity to throw the folding bike on the plane and hit the New Zealand back-country for a bit. I flew Air New Zealand, so there was no extra charge for the bike. I boxed the bike up, but in hindsight just a heavy duty clear plastic bag would have been less hassle.

A few transfers and around 20 hours later, I was in Wellington, the capital of New Zealand, arriving at 9:30am on Saturday morning. My wife Haidee was already in Wellington (there doing some home-based work on her PhD), and so we spent a meandering several hours cycling from the airport to the InterIslander ferry terminal, where I would head from Wellington to Picton, across the Cook Strait to the South Island.

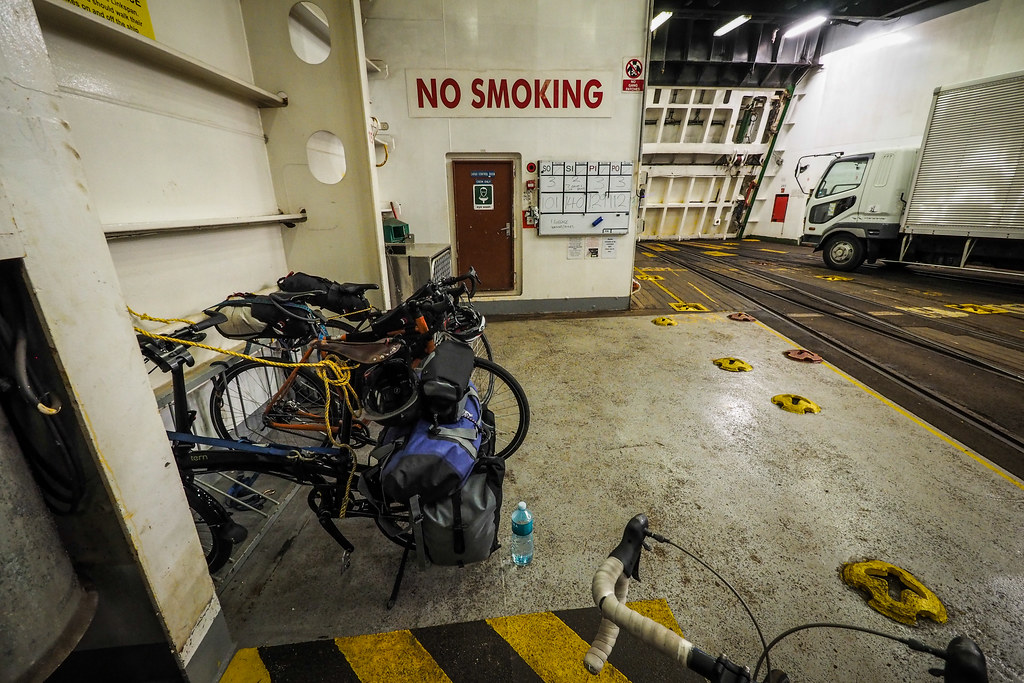
In the end I arrived in Picton at 5:30pm on Saturday and promptly started heading south towards the beginning of the Molesworth Muster Trail, dropping by a supermarket in Picton on the way. Dusk on day one would see me wild camping on the Redwood Pass back-road half way between Blenheim and Seddon. I found out the hard way that the fence I pitched my tent next to was electric!
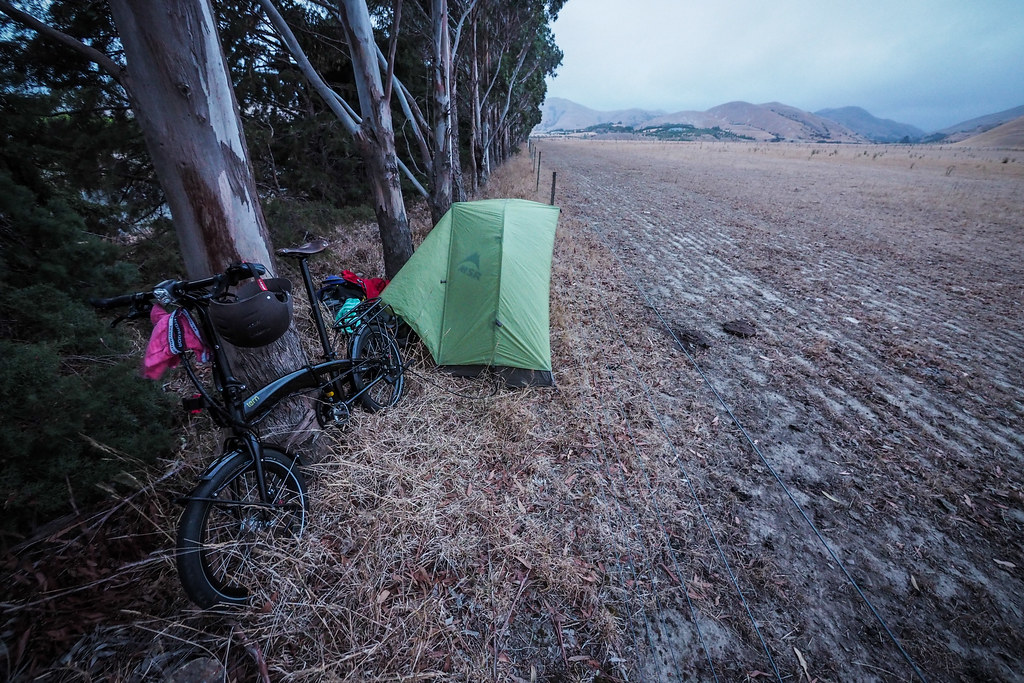
Day Two - Redwood Pass to Heddon Bridge – 80km (Sunday 22nd Feb, 2015)
I had a stiff tailwind from Picton to my campsite yesterday, but this morning I woke to a stiff southerly wind; not a great start to the day considering I had to travel south-west for the entire day.
I woke just on daybreak, and was on the road by 6:30am. I forewent breakfast, planning on cycling an hour or so before stopping for food. The day started with a stiff climb up Redwood pass. While it was only 200m in height, the road was loose gravel at times and steep; this would be the first test of the Tern Verge S27h on a steep gravel climb, and later a fast downhill.

The previous day I had bought a big loaf of wholemeal sourdough bread, Parmesan cheese, Dutch salami, and some fresh vegetables, so I stopped about an hour into the climb to make a sandwich. Only one car had passed in the entire 2 hours I was on the road. The silence, only broken by gentle birdsong, was exquisite.
It wasn’t long after breakfast that I hit the top of the pass, and hurtled down towards the sleepy little town of Seddon, where I would spend a few hours at the local Backpacker’s using their WIFI to send some urgent documents to my research collaborators. The Verge handled the gravel downhill OK. Not as fun as a 29er, but not entirely kill-joy-esque. The relatively fat 2.15 Schwalbe Big Apples I think help greatly in this regard – drop the pressure in them and they do a valiant effort at absorbing bumps and keeping the bike upright and stable.
After a quick lunch in Seddon, I set off for the Molesworth Muster Trail proper. I was away at around 12:30pm, and would not make the 55km to Heddon Bridge until 5pm.
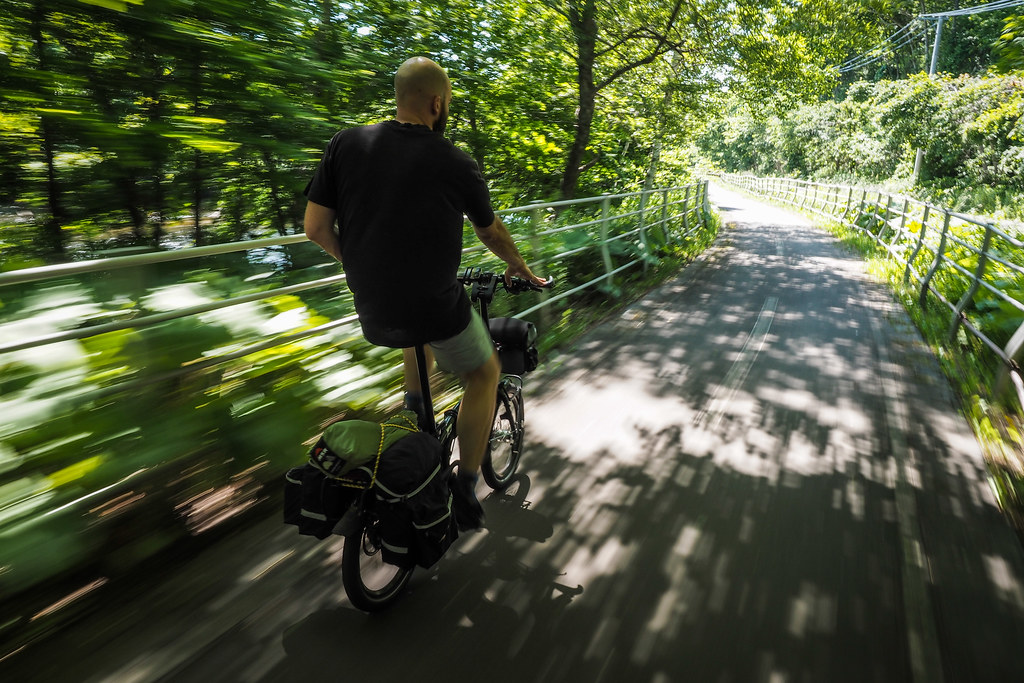
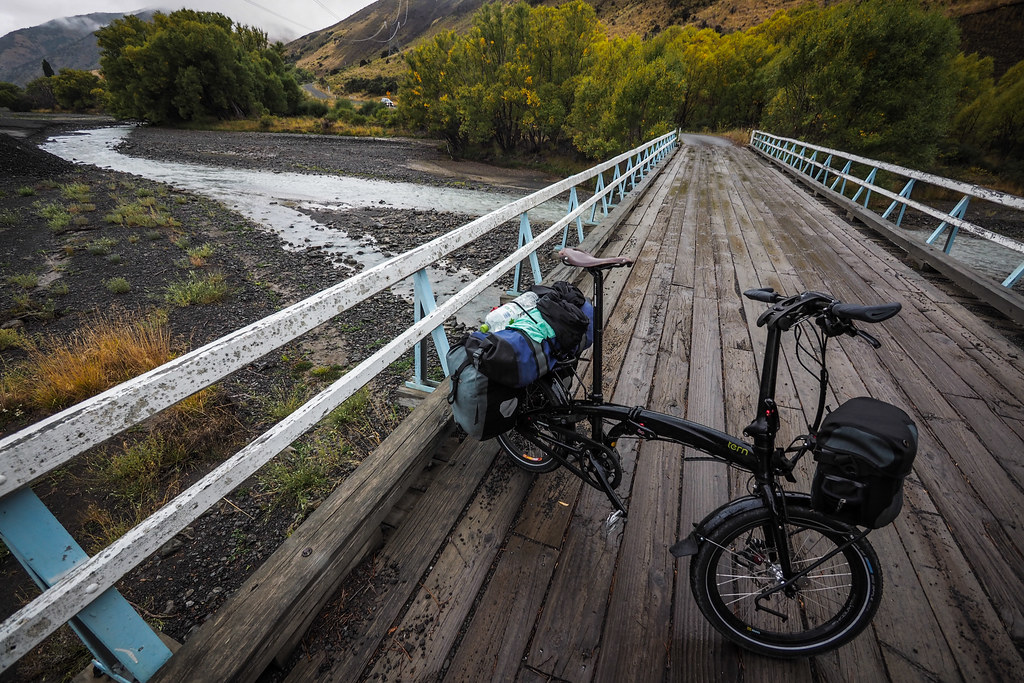
The stretch of road from Seddon to Heddon Bridge climbs steadily along a mix of paved and gravel road, until about 20km from Heddon Bridge, where pavement is left behind for good. For much of the first 20km, the road is lined with vineyards, producing the wine that the Malborough region in New Zealand is so famous for.
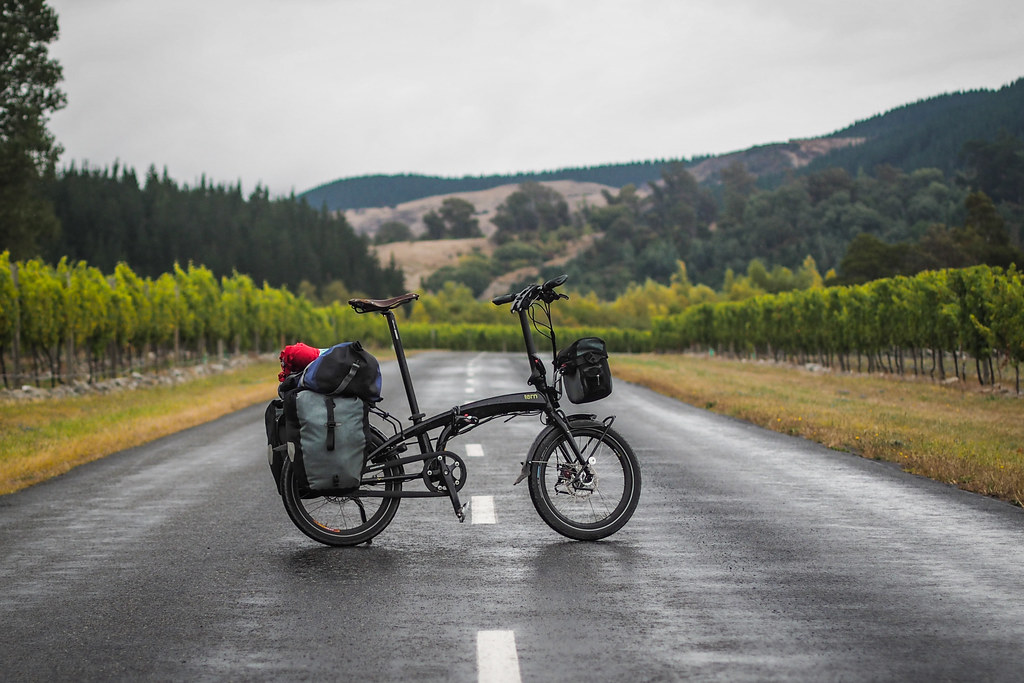
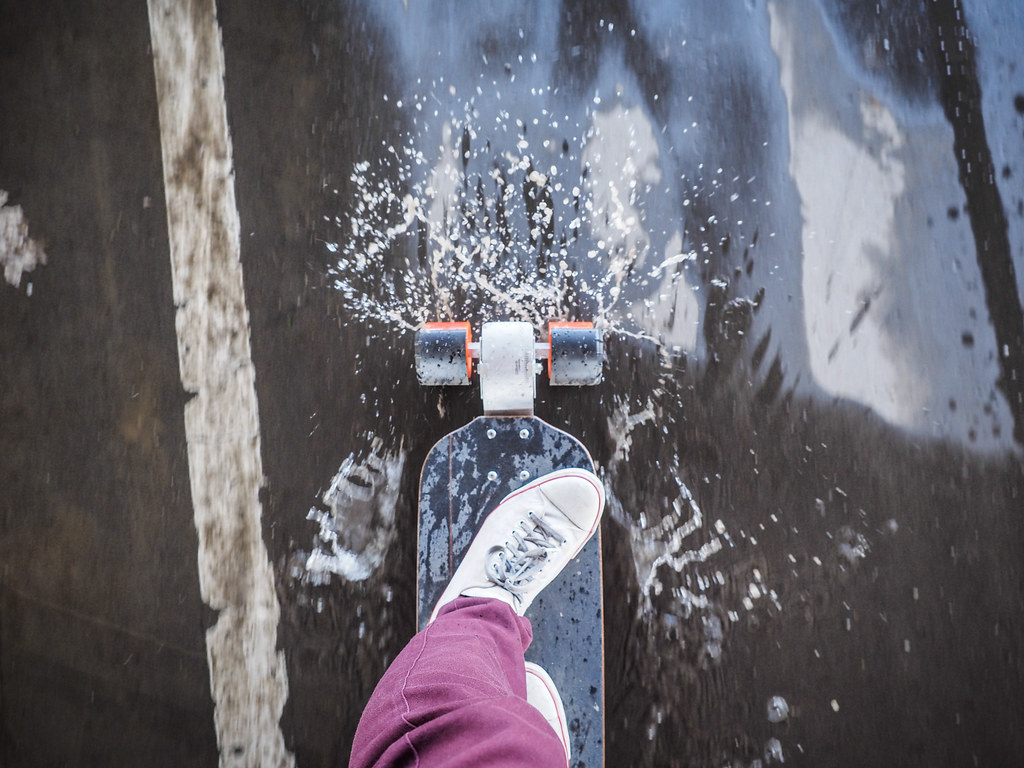
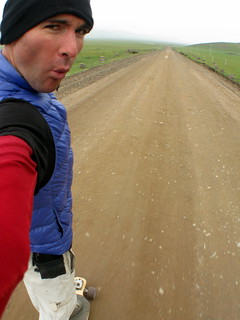
As the wet road in the photo above suggests, the weather was a mix of very light rain, cloud and the occasional sunny spells during the three days I was on the road. This was certainly not a bad thing; it can get extremely dry and hot through here, and I was happy for the respite.
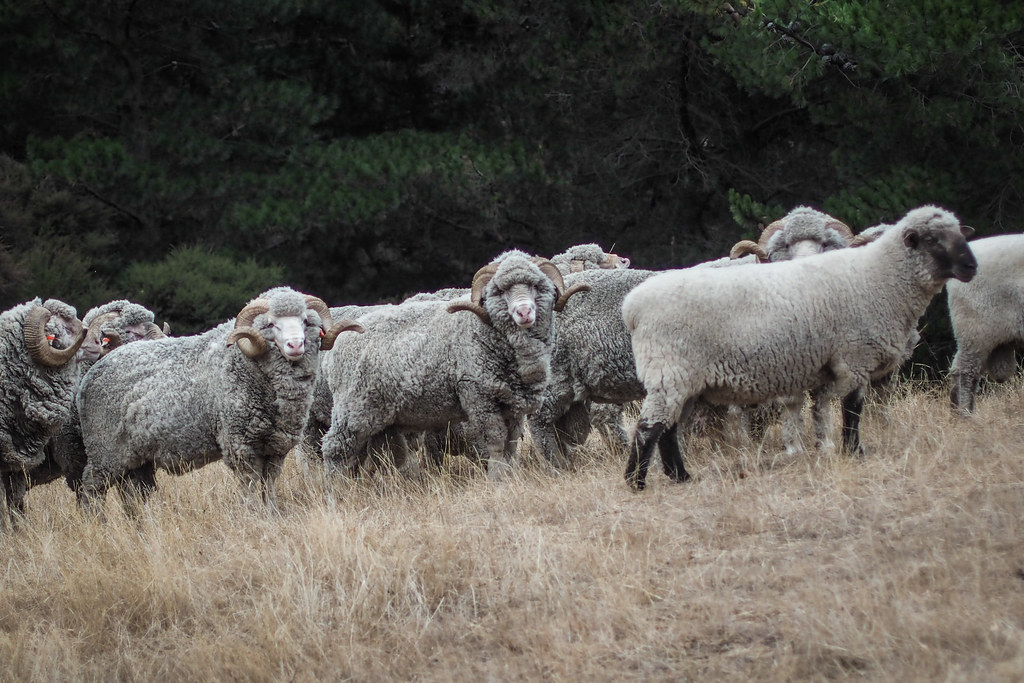
Once past the vineyards, the countryside becomes sheep country. Including the famous merino stud from which all that merino clothing goodness is made from.
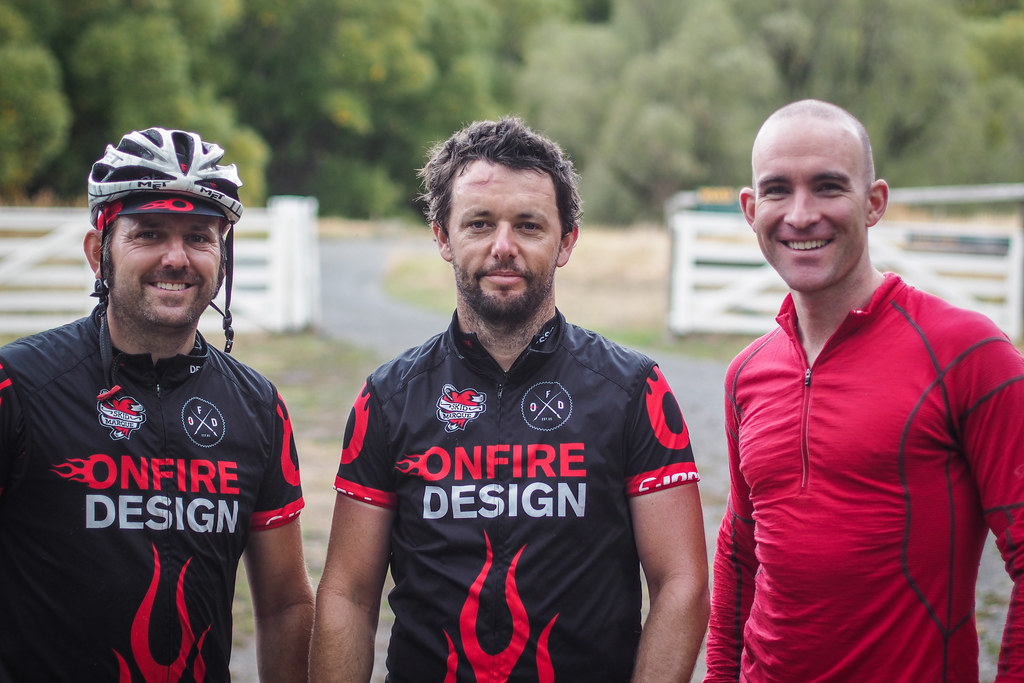
I made it to the Heddon Bridge campsite by around 5:30pm after a grueling 80km ride. The last 15km or so felt like they would continue forever, and included numerous stiff ups and downs. At the campsite I met up with two other cyclists. Both were on more sensible mountain bikes.

Day Three – Heddon Bridge to Acheron Campsite – 105km (Monday 23rd Feb, 2015)
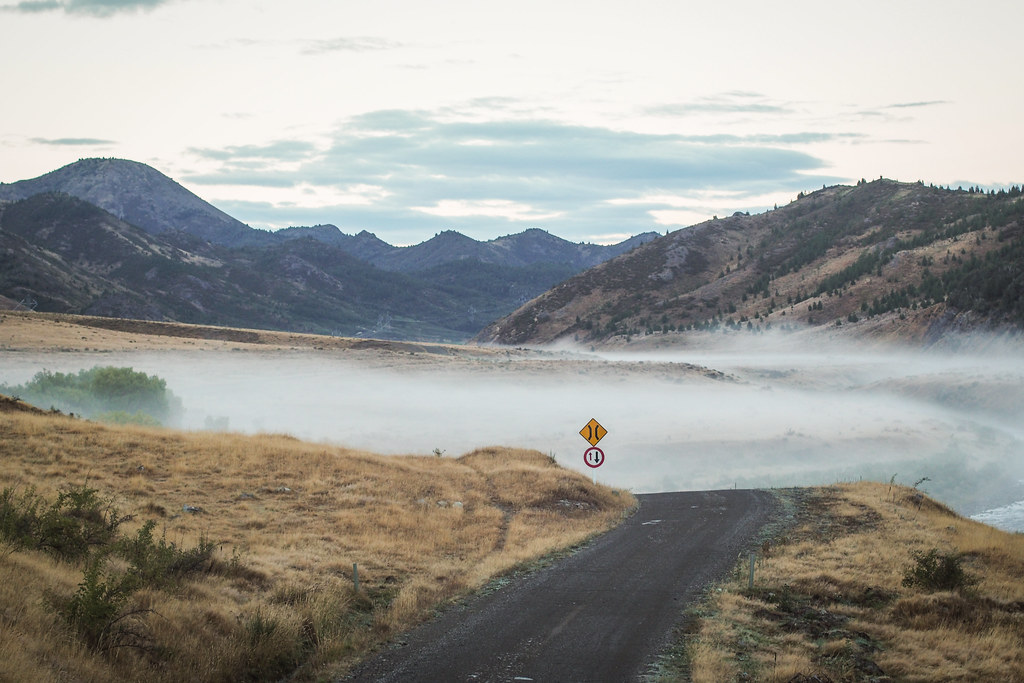
I only had 1 litre of drinking water left by morning, so I decided to get on the road before daybreak, to make the most of the cooler hours of the day. If the sun decided to shine today, I would be in trouble, since I wasn’t carrying any water treatment. Streams and rivers in New Zealand are known to carry giardia, and I wasn’t willing to risk it. I knew it would be 50km to the Cobb Cottage campground where I would have access to safe drinking water.
Circumstance would swing in my favor however, as the day was fairly dingy and rainy – perfect cycling conditions. Only once was the rain heavy enough to warrant a jacket and rain pants. The other times it was only a very light misty rain, enough to keep me cool.

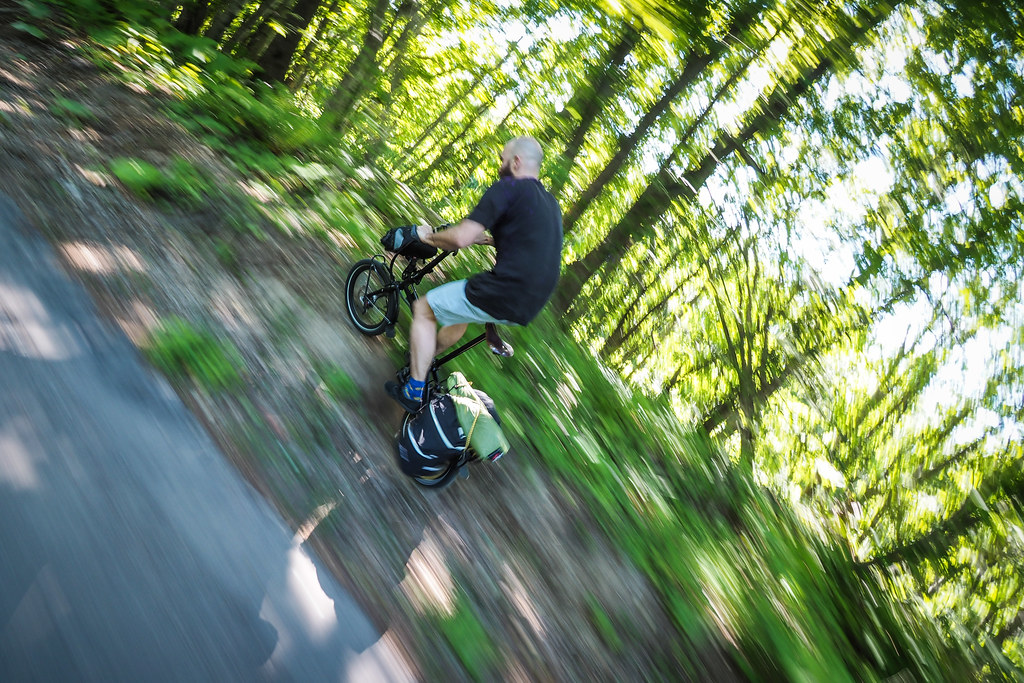
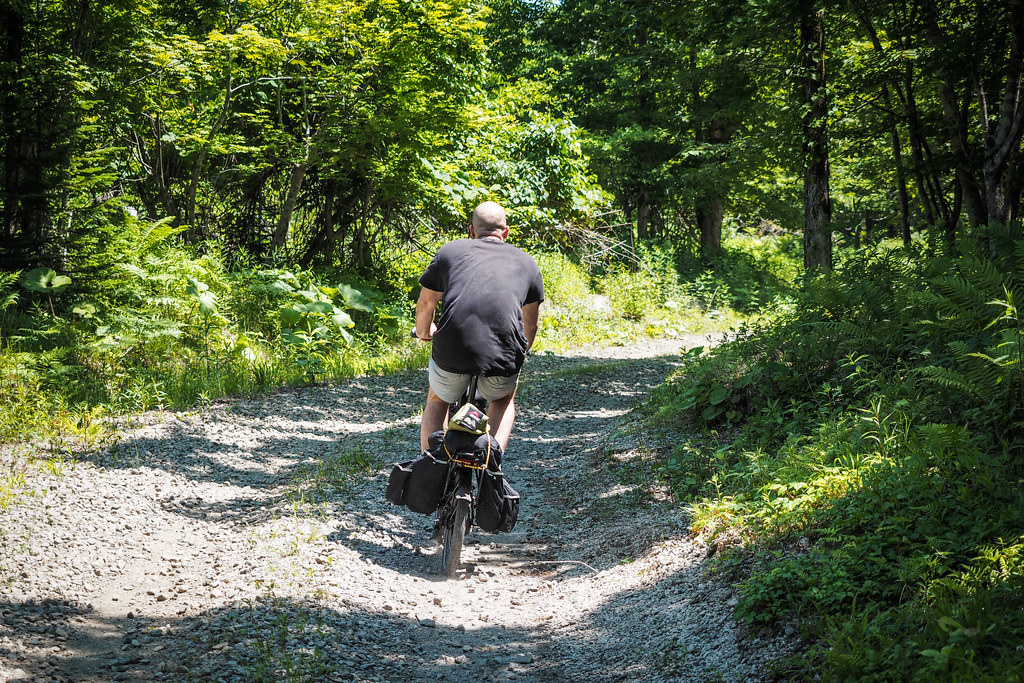
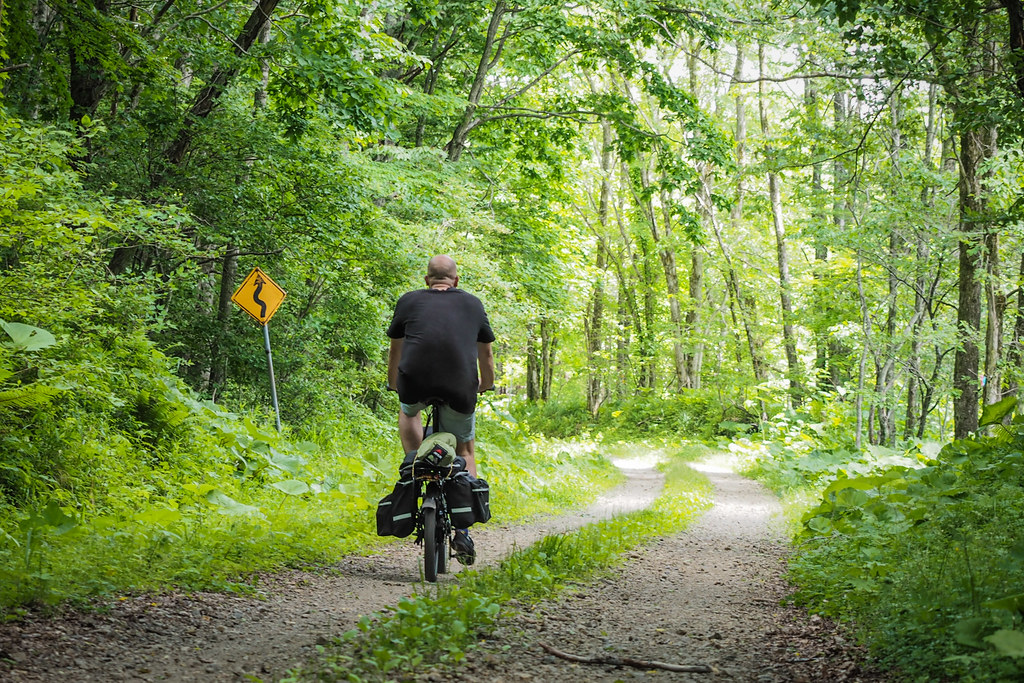
The route carried on with its grunty steep ups and downs, all the while gaining altitude. Speedy descents were tempered by washboard road surfaces, which took plenty of concentration on the small-wheeled bike.
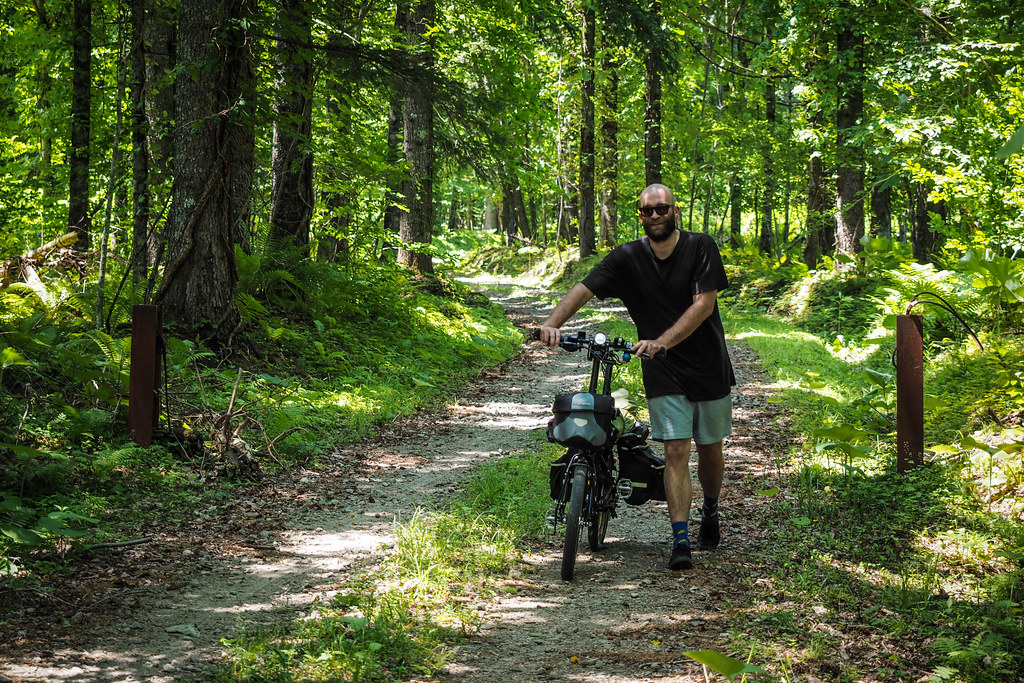
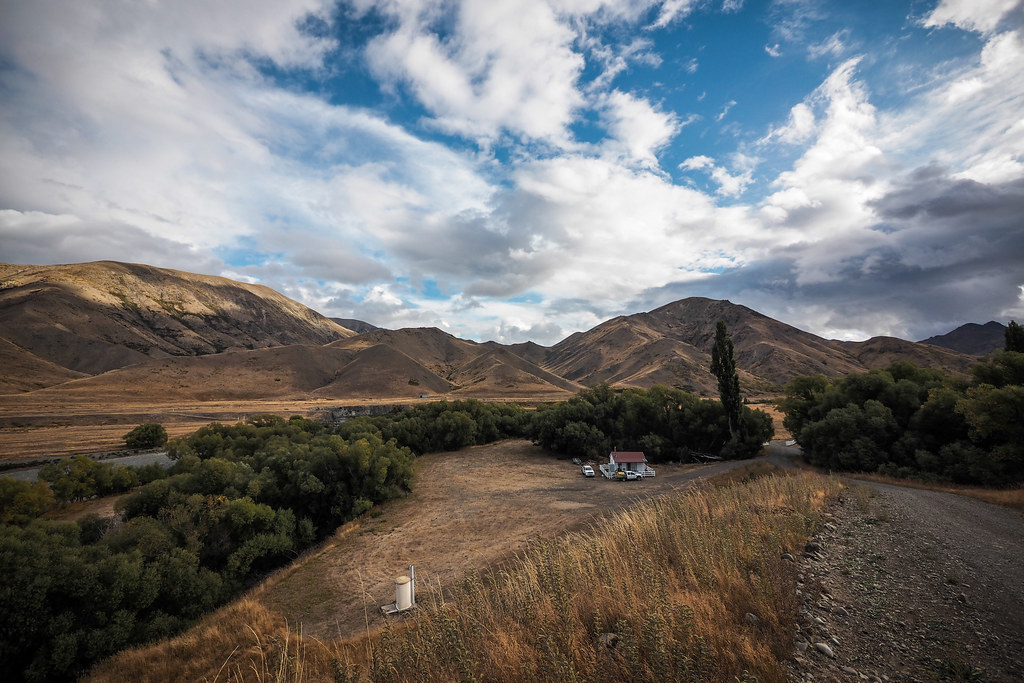
For all my effort, however, I was rewarded with an ever-increasing air of remoteness. By the time I arrived at the DOC campsite at the Cobb Cottage at 11:30am, I had only seen one other vehicle.

At the Cobb Cottage campsite, the volunteer DOC rangers greeted me with arms open, offering me a dry spot on their hut veranda so I could make myself a sandwich for lunch. When they offered me a coffee, I jumped at the chance. Amazing souls!
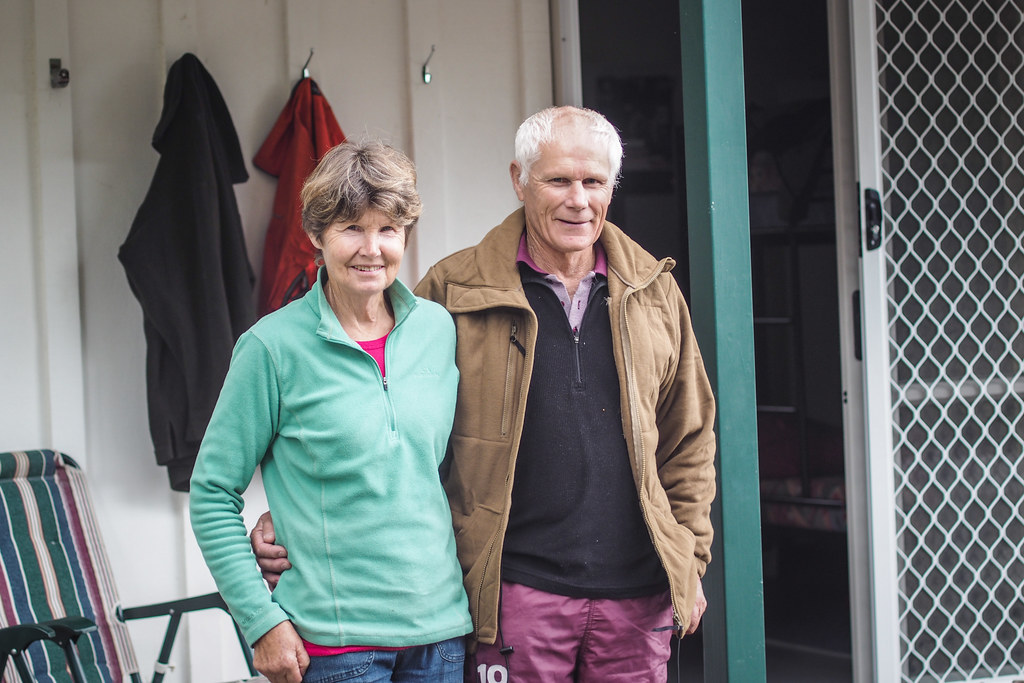
I spent an hour sitting and chatting with the ranger couple, and just as I was readying to leave, the two mountain-bikers from Heddon Bridge arrived. They would stop at the campground to stay the night, but since I was supposed to be in New Zealand visiting family, I decided to carry on and tackle the remaining, mostly downhill, to Acheron Campsite, a further 60km away.
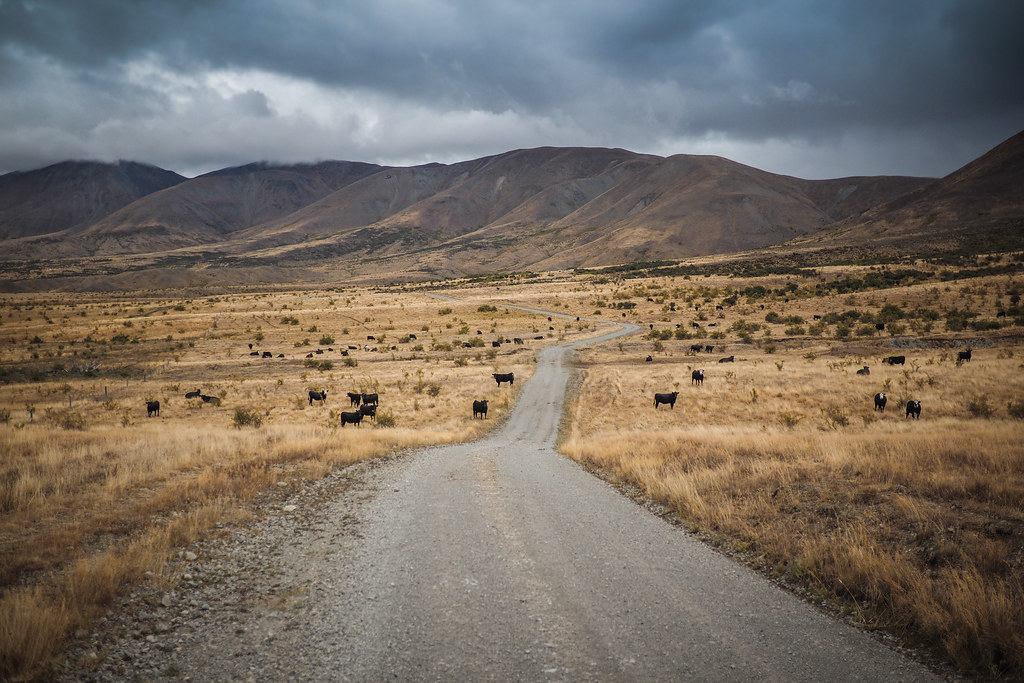
While it is mostly downhill from Cobb Cottage to Acheron, there is one last big climb before the gradual downhill happens: Wards Pass. It is not a very long pass, but after a few days of remote cycling, it felt very steep indeed. Curious cows watched my every move as I cycled past.
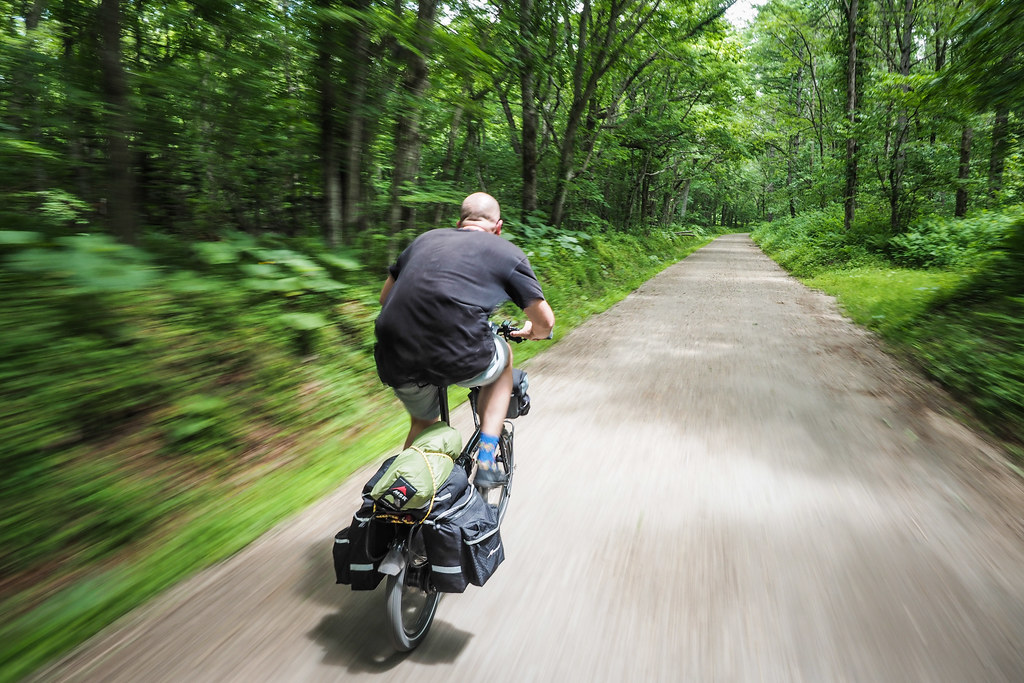
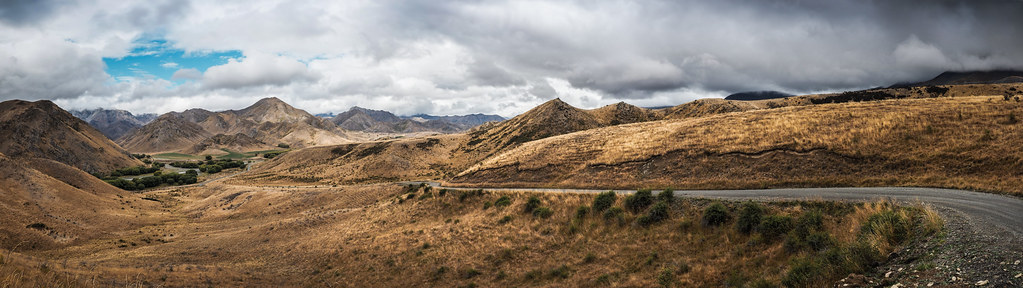
Once up and over the pass, I hit the gloriously gradual downhill stretch of road across Isolated Flat. Imagine tens of kilometers of mildly potholed but very fast gravel, with a nice stiff tailwind. Once again, the small-wheeled Tern was not perfect for the task, but wasn’t useless either. It did the job.
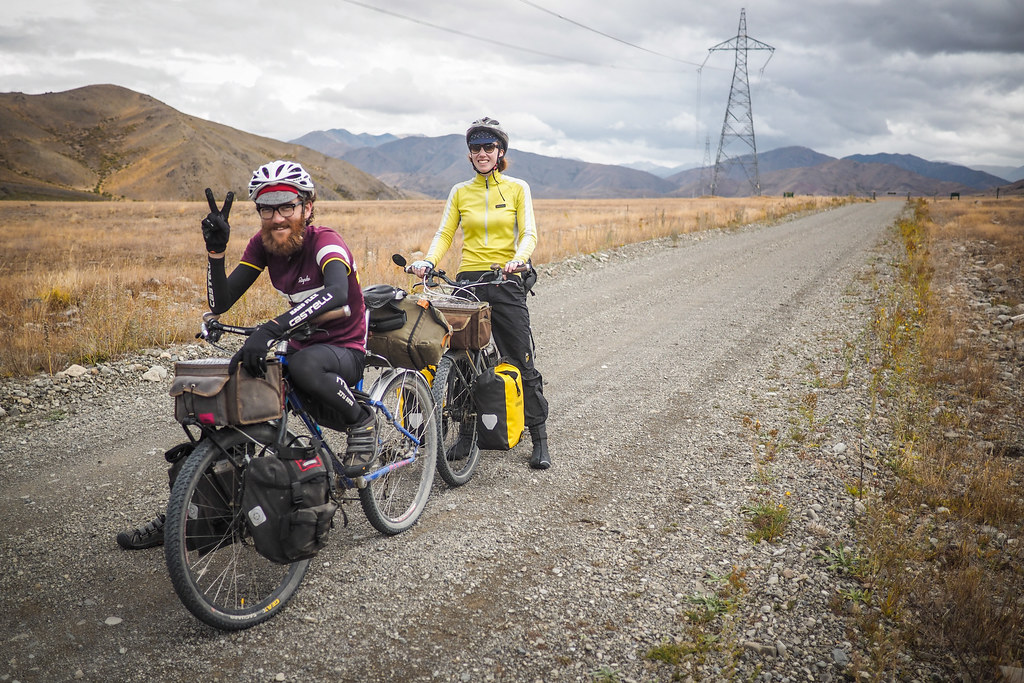
The only souls I met along the way were two other cyclists, making their way up the gradual incline into the headwind…but they seemed in good spirits (see their adventures here).
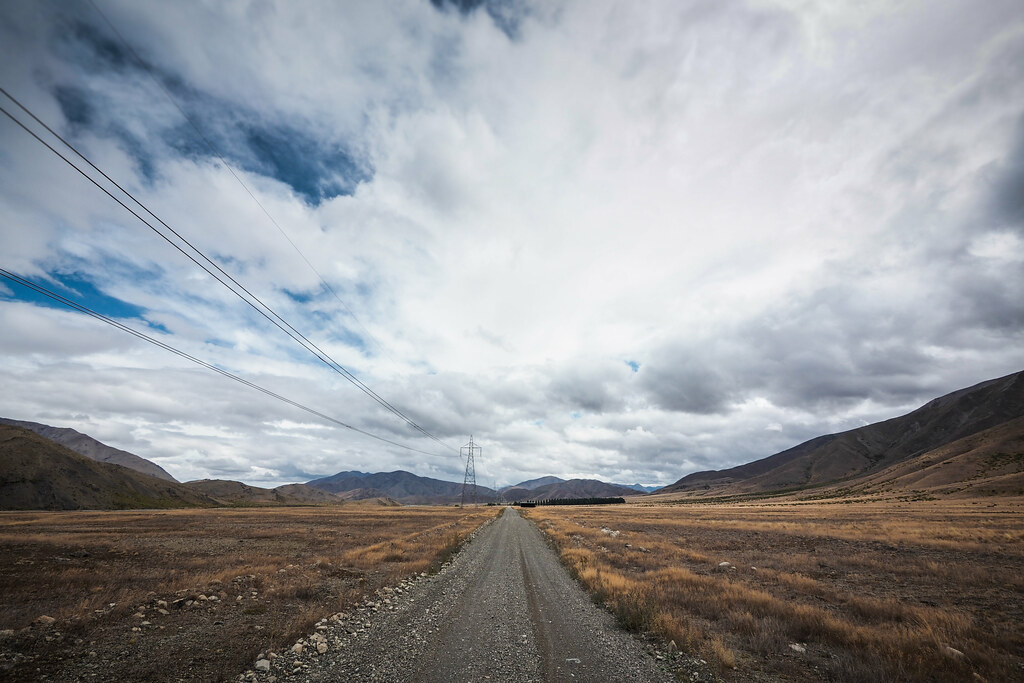
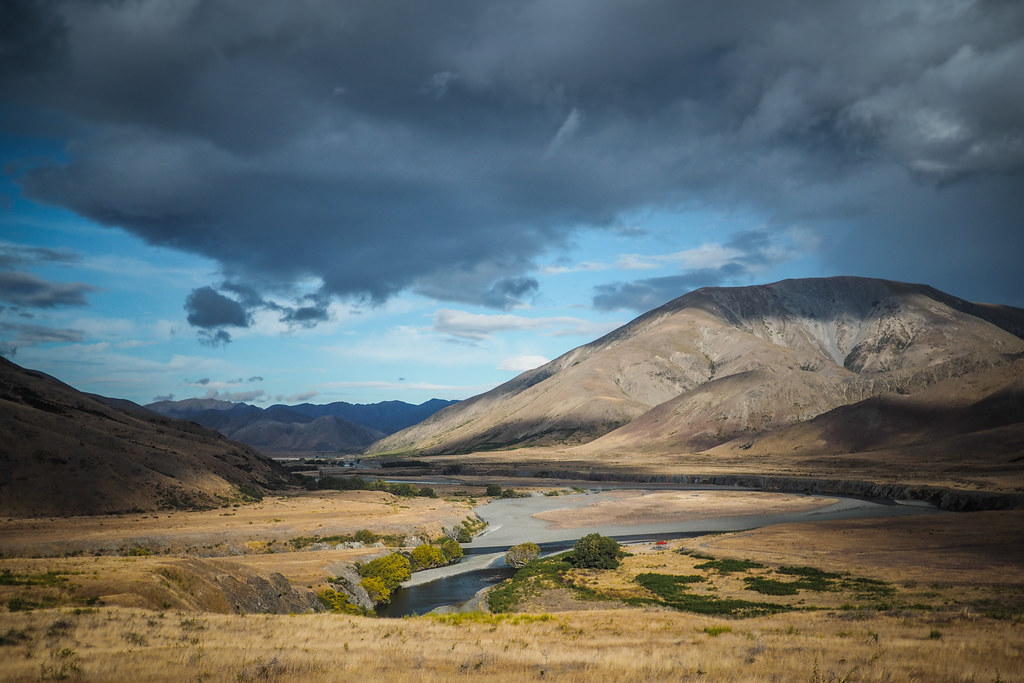
This part of the route presented me with a few fun curiosities including shallow fords…

And massive skies.
I finally arrived at the Acheron DOC Campsite at 7:10pm, around 13 hours since I left Heddon Bridge. At least 11 hours of that was cycling. Despite the overall drop in altitude after Wards Pass, stiff climbs over bluffs and Isolated Pass meant that it was not all plain sailing.
The DOC rangers at the campsite were expecting me, and invited me in for a coffee. We chatted about Japan and different places they had been posted at. One of them had once spent 7 weeks on the Kermadec Islands without seeing another person for the entire time. These are an interesting breed, those DOC rangers.
I paid my $6 for camp fees, set up my tent, and was fast asleep by 8:30pm.
Day Four – Acheron to Hanmer – 22km (Tuesday 24th Feb, 2015)
This fourth and final day of the trip was a short one. Like every day on the trip, I woke before daybreak and cycled around 10km before stopping for breakfast. It was a cold morning as I cycled upstream along the Clarence River – I had to wear a hooded fleece and gloves!
Soon enough I arrived at the junction to head up over the final pass into the spa town of Hanmer. My time in the quiet remoteness of the Molesworth Muster Trail was coming to an end.
It was only a short hour before I hit the top of Jack’s Pass in the heat of a bright sunny day…

And careened down the other side into the relative bustle of the sleepy little town of Hanmer. Only to immediately head to the public library to catch up on all the school work I had left unattended for four glorious days of remote cycling.

From Hanmer I caught the 4:30pm bus to Christchurch. $35 (including the bike folded in the trailer).
For more detailed information about the Tern Verge s27H, check out Peter’s detailed overview here: http://www.cyclepeter.com/verge-s27h-folding-touring-bicycle-review/